7.2 Upload Manager
Edumaps Tutorial Edumaps
1
Overview of the Upload Manager
-
At the top, you will find three tabs:
-
- All Uploads
- My Uploads
- Uploads from Others
-
Depending on your selection, you can filter your uploads. Uploads from other users to your maps are stored in your account, and you can manage them.
-
Use the search field to quickly locate uploads.
-
⚙ overview
2
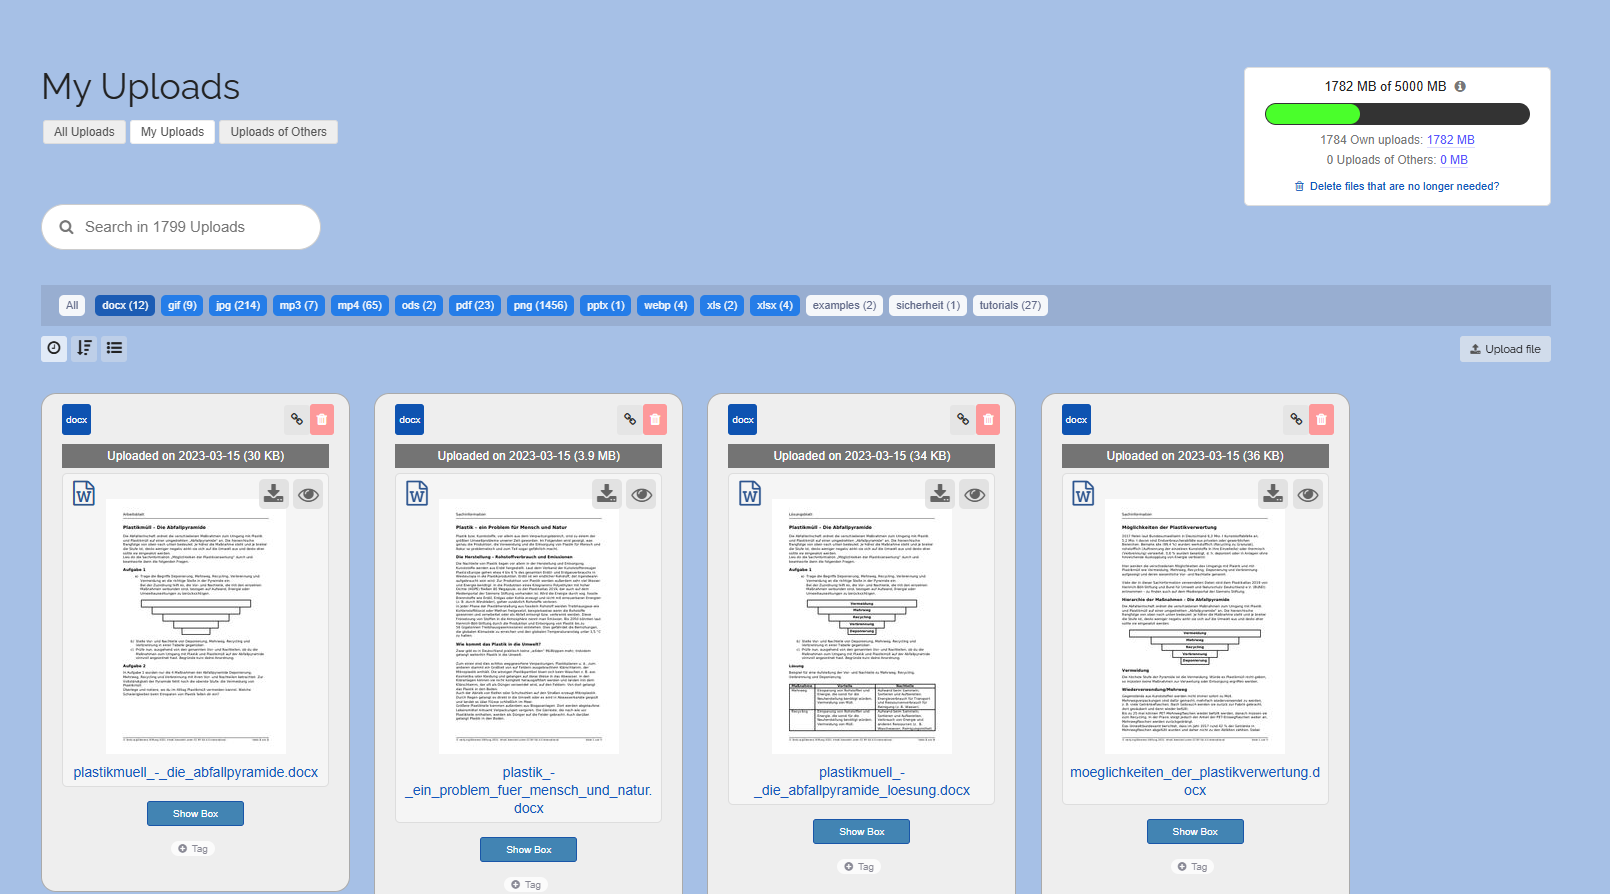
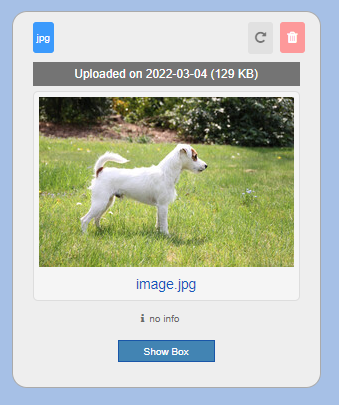
Details about the Upload
-
Each uploaded file is represented with:
-
- File type
- Link button and Delete button
- Time of upload
- Size of the file
- File name
- Metadata ("no info" if not provided)
- Location (Upload took place in box, comment, as movable image (textfield), map background, ...)
-
⚙ details
3
Location of the Upload
-
By clicking on the blue button “Show Box”, the map is opened where the upload took place. The box is also automatically brought into focus.
-
Locations can be:
-
- Box
- Comment
- Movable image (textfield)
- Map background
-
⚙ location
4
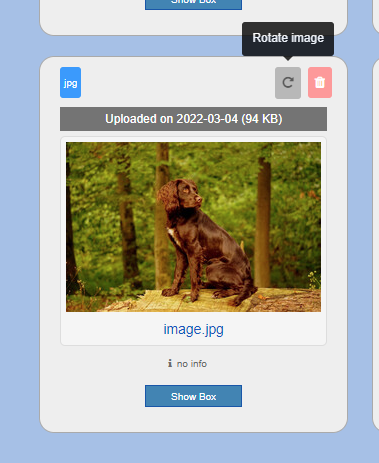
Rotate Image
-
For images, you will find a Rotate button directly next to the red delete button, which allows you to rotate the image by 90° as many times as you like.
-
⚙ rotateimage
5
Deleted Boxes / Comments
-
If the box in which the file was uploaded has already been deleted, you will find a red note below the file "Box deleted".
-

-
The same applies to deleted comments and deleted moving images.
-
The file was in a box that has since been deleted. However, the file could still be in other boxes or linked externally. Please check before deleting. The file remains available and can continue to be used.
-
⚙ deleted
6
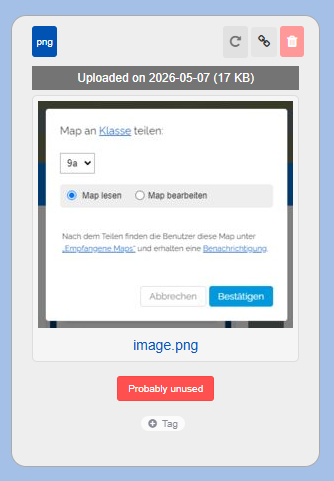
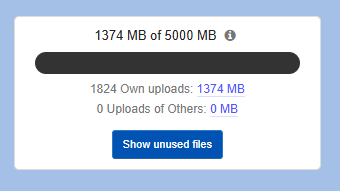
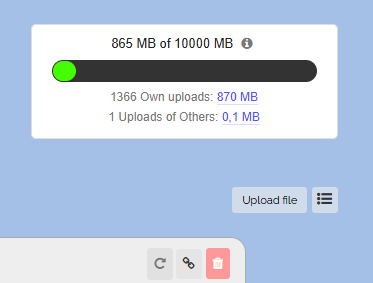
Storage Space
-
The storage space display shows you how much storage space you have left.
-
You can also see how much space your uploads and third-party uploads occupy.
-
Below that, you will find a button that allows you to automatically delete all files from deleted boxes, deleted comments, and deleted moving images.
-
The probably unused files could still be in other boxes or linked externally. Please check before deleting. Deleted files remain recoverable in the Trash for 30 days.
-
⚙ storage
7
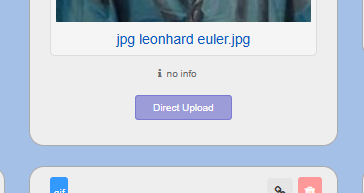
Rename file and add metadata
-
By clicking on the file name, you can change it.
-
By clicking on “no info”, you can add any metadata to your upload. This is particularly useful for license notices or source links.
-
⚙ rename
8
Direct File Upload
-
You can also upload a file without creating a map.
-
To do this, simply click the “Upload file” button near the storage display.
-
The uploaded file will then have the note “Direct Upload”.
-
⚙ directupload
9
Upload Limits
-
The upload limit depends on the map owner. Depending on the account, the upload limit for the respective map is:
-
- 10 MB/file with plan “Free” (each registered user)
- 100 MB/file with plan “Effective” (customers)
- 500 MB/file with plan “Premium” (customers)
-
The following applies to school and state licenses:
-
- 10 MB/file for students
- 250 MB/file for teachers
-
If you use a different Edumaps server, there might be different limits.
-
Example 1: If the map owner is a teacher, all students and teachers who are logged in and visit his map can upload files up to 250 MB in size.
-
Example 2: If the map owner has booked the “Premium” plan, an upload limit of 250 MB per file applies to his map.
-
Note: An upload limit of 10 MB/file always applies to anonymous users, regardless of the map owner.
-
⚙ uploadlimits