2.4 Sharing Column Groups
Edumaps Tutorial Edumaps
1
Access sharing by column groups
-
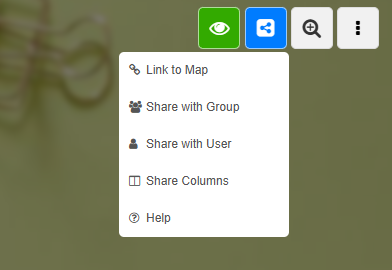
You will find the “Share column groups” options in the menu that opens when you click the blue share icon at the top right.
-
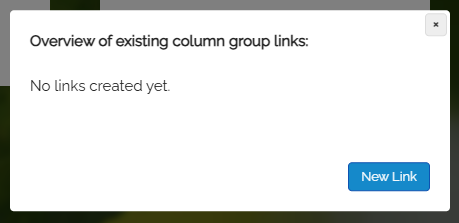
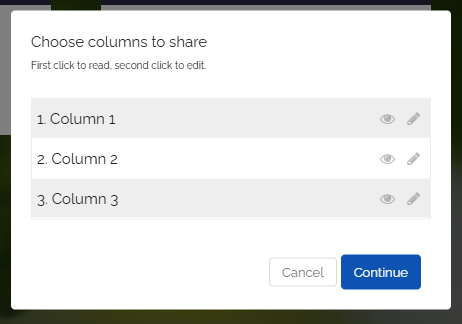
Click “Share Columns” from the dropdown to open the following dialog:
-
Click the button “New Link”.
-
⚙ a1
2
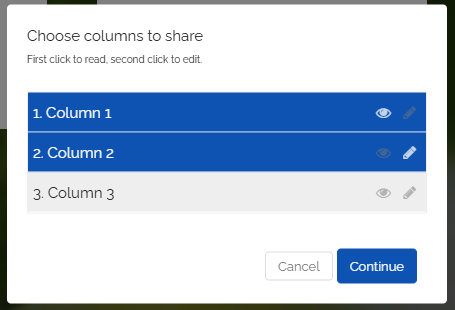
Create a link for column groups
-
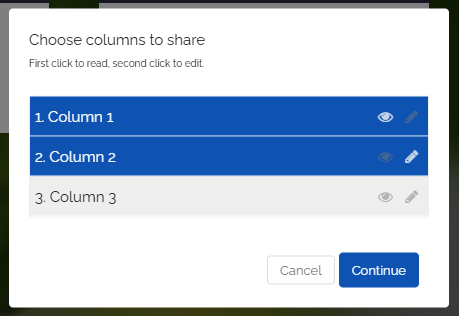
You can now individually select the columns you want to share.
-
The first click on a column selects it as read-only.
-
The second click allows editing.
-
Click the “Next” button.
-
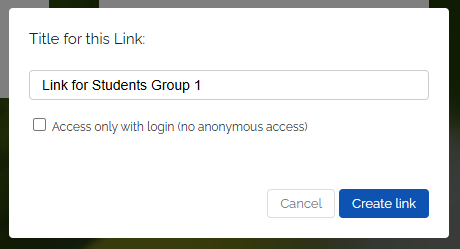
Next, you can give the link a title. You can also choose whether visitors need to log in to access the map.
-
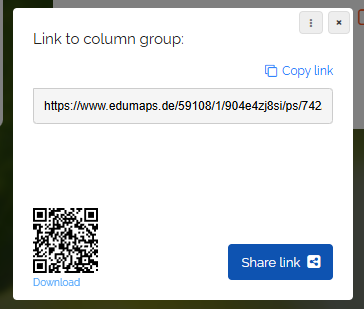
Click “Create link”. You can now copy the generated link and distribute it to your students.
-
Tip: Use the QR code as well, which your students can conveniently scan with their phone or tablet.
-
⚙ a2
3
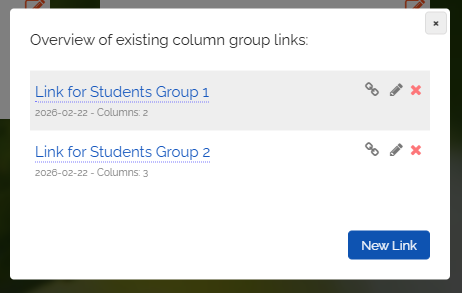
Edit or delete an existing Link
-
All created links can be edited afterwards and the column access rights changed or even removed.
-
Simply click the blue share button and select "Share column groups".
-
An overview of all column group links you've already created will appear.
-
- Click the link icon to copy the link.
- Click the pencil icon to edit the link.
- Click the red cross icon to delete the link.
-
Click the pencil icon, and the following dialog appears:
-
Click the respective columns to set permissions:
-
First click is read-only,
second click is edit,
third click removes all permissions for the column. -
Click “Next”; you can optionally change the title and enable “Access only with login”. Then click “Save”. The sharing dialog will be displayed.
-
It is the same link as before. Your students can still use the same link.
-
⚙ a3