1.9 Movable Images
Edumaps Tutorial EdumapsIntroduction
-
Moving images are available on sticker boards. They are positioned globally on the map.
-
✔️ With moving images you can:
-
- Upload sketches and photos for brainstorming
- Create maps
- Put together galleries and collages
- Build storyboards and step-by-step instructions
- Create diagrams/charts using image components
- Label images and combine them with text fields/arrows
1
Add Image
-
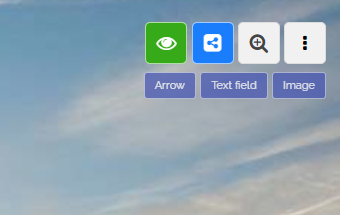
The map must be set to the “Sticker Wall” format. Then the three buttons - arrow, text field, and image - will appear in the top right.
-
Then click on the blue “Image” button and then upload the desired image.
-
⚙ add
2
Options for movable Images
-
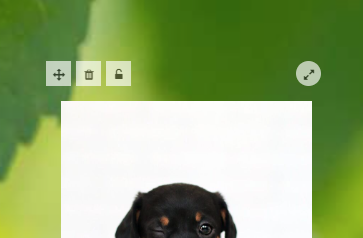
For a movable image, the following editing options are available:
-
- Change position (Move the movement icon)
- Delete image
- Lock image (in view)
- Change rotation
-
⚙ options
3
Locking of Images
-
By default, all images in the map view are clickable and will be enlarged upon clicking.
-
However, if you click on the lock icon, the image will be locked. This means that the image will not be clickable in the map view.
-
This is useful if, for example, you want to place your logo next to the heading or use maps with text boxes placed on them.
- Example: Which city is hidden behind each station? (Germany)
-
⚙ locking
5
Precise Movement of Images
-
Positioning an image with the mouse can be imprecise. To position an image more accurately, select the image and then use your keyboard.
-
Hold down the Shift key and use the arrow keys (
←↑→↓) to position the image precisely. -
You can hold down the Ctrl key instead of Shift to move the image in smaller steps.
-
⚙ move