1.5 Column Settings
Edumaps Tutorial Edumaps
1
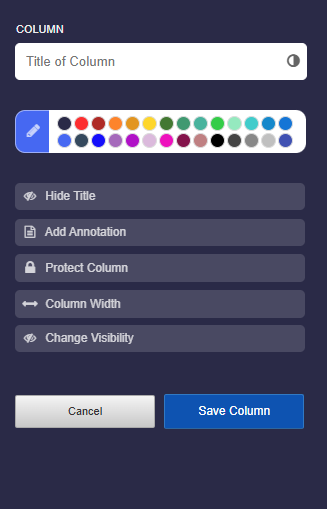
Column Settings
2
3
Format Text in the Title
-
For Advanced Users:
-
You can also style the text of the title. The following formatting options are possible:
-
- Bold and Italic with asterisks.
**Bold Heading** and here is an *italic word*.-
-
- Line Breaks are possible with two backslashes.
First line of the title \\ Second line-
-
- Colors can be set with hex color codes:
My {blue title}{#00F}-
-
- Font Size
-
The font size can be increased or decreased as follows:
<big>My big title</big> and <small>a small text</small>
4
Linking Column Title
-
You can link a column title by simply adding the link after the column title.
-
For example, see Map:
-
📝 Input (Example):
Column Title https://www.wikipedia.org/-
⚙ linking
5
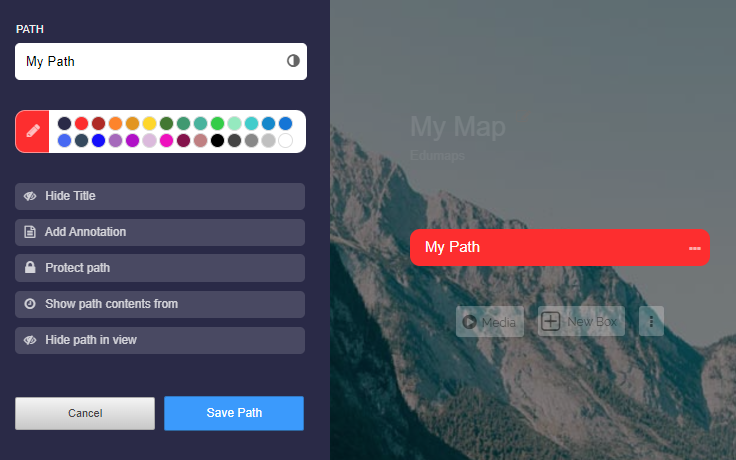
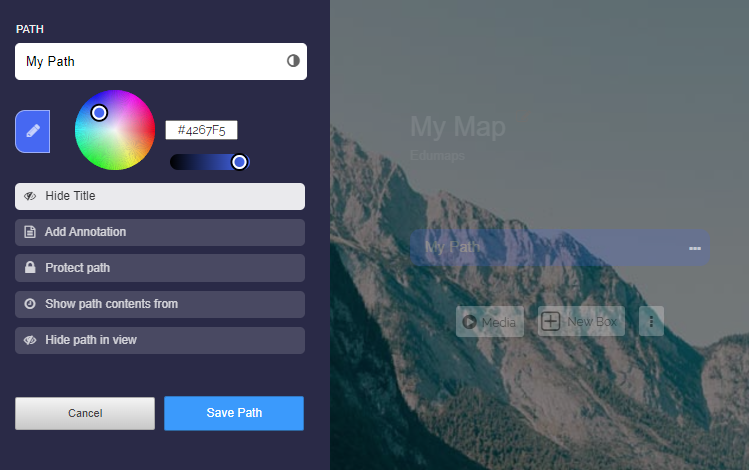
Column Title Color
-
You can color each column title. Defined colors are available for this purpose.
-
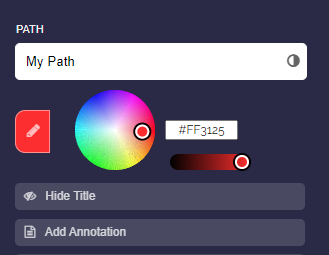
Click on the edit pencil icon to display additional settings.
-
Here, you can select a color from the color wheel and adjust the brightness of the color.
-
You can also input a hexadecimal color code. This is useful if you want to use the exact color code from another column.
-
⚙ color
6
Hide Title
-
Here you can hide the title. It will then not be displayed in the map view.
-
In edit mode, you will still see the column title, as this is where access to the column settings is made.
-
⚙ hidetitle
7
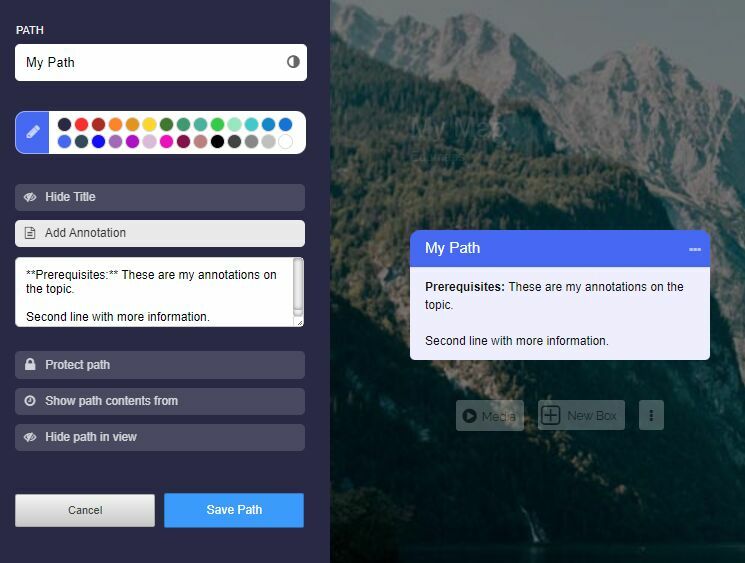
Add Annotation
-
In the column settings, you can insert your own annotations. These annotations appear below the column title.
-
New lines are accommodated in the annotations.
-
You can also apply formatting for bold and italic.
-
📝 Input (Example):
**Prerequisites:** These are my annotations on the topic.

Second line with more information.-
⚙ annotations
8
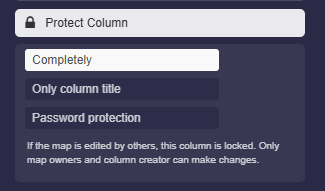
Protect Column
-
With the “Protect column” setting, there are various ways to protect a column.
-
- “Fully”
- “Title only”
- “Password protection”
-
1. Completely
-
If the map is edited by others, this column is locked. Only map owners and column creator can make changes.
-
2. Only column title
-
Only the column title is locked, however, boxes can still be added and edited in the column.
-
3. Password protection
-
In the map view, the correct password must be entered to make the boxes in the column visible.
-
⚙ protect
9
Protect column content with password
-
If you want to hide the content of a column and only make it accessible with a password, you can use the password function.
-
- To set the column password, open the column settings.
- Activate the option “Protect column” and select “Password protection.”
- Enter your desired password there. Save the settings.
-
Result: In the map view, all boxes of this column will be hidden and a password input field will appear below the column title.
-
Displayed only after entering the correct password.
-
⚙ password

10
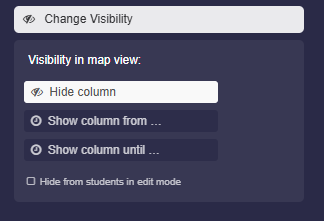
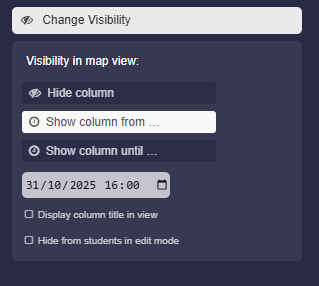
Change Visibility
-
You can control the visibility in the map view using the "Change Visibility" option.
-
There are three choices available:
-
- "Hide column"
- "Show column from …"
- "Show column until …"
-
⚙ visibility
11
Change Visibility Settings
-
1. Hide column
-
The column will be completely hidden in the map view.
-
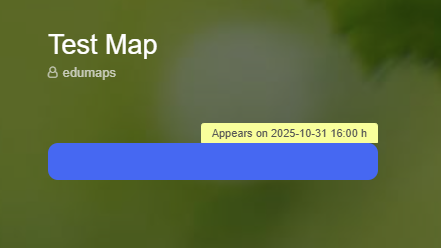
2. Show column from …
-
Here you can set the time from which the column is displayed in the map view.
-
If you activate the option "Display column title in view", the column title will be displayed with the note "Appears on …".
-
Additional option: Hide from students
-
Further down you will find the option “Hide from students in edit mode”. This allows students not to see the column themselves when editing.
-
-
3. Show column until ...
-
Here you can select a time from which the column will be completely hidden.
-
⚙ settingsvisibility
12
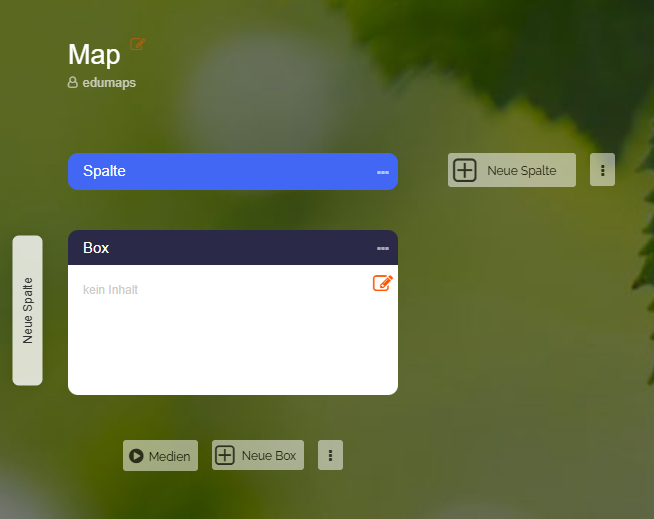
Create a new column at the very front
-
When you move the mouse over the empty area to the left of the first column, the “Add column” button appears.
-
Click the button to insert a new column at the very front.
-
⚙ columnfront