1.4 Map Settings
Edumaps Tutorial Edumaps
1
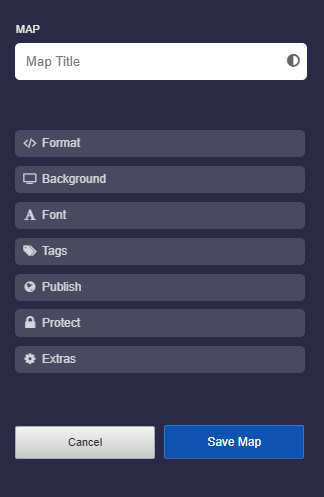
Map Settings Overview
-
The screenshot shows the available map settings:
-
⚙ settings
2
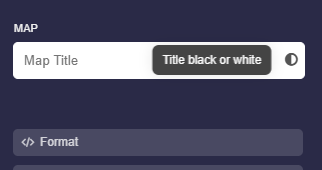
Title of the Map
-
You can choose any title for your map. You can also insert emojis.
-
Characters from any language are possible.
-
Use the text color switch to use white or black font.
-
⚙ title
3
Format text in Map title
-
The text of the title can also be formatted. The following formatting options are possible:
-
- Set bold and italic with asterisks.
**Bold** heading and here is an *italic word*.-
-
- Line breaks are possible with two backslashes.
First line of the title \\ Second line-
-
- Colors can be set with hex color codes:
My {red title}{#00F}-
-
- Font size
-
The font size can be increased or decreased as follows:
<big>My large title</big> and <small>a small text</small>-
⚙ titleformat
4
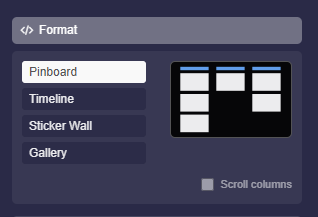
Map Format
-
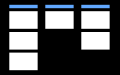
Pinboard
-
The pinboard consists of tracks. Each track contains boxes. Multiple tracks are positioned side by side.
-
-
Timeline
-
The tracks run horizontally. The boxes are arranged from left to right. Multiple tracks are positioned one below the other.
-
-
Sticker Wall
-
The boxes are freely arranged. There are no tracks.
-
-
Gallery
-
In gallery format, all boxes are positioned horizontally, one after the other. There is also a photo mode that highlights photos and videos.
-
-
❤️ A switch from one map format to another map format is possible at any time. Please note, however, that for example sticker wall elements such as text fields/arrows/images behave differently when you change the format.
-
⚙ format

5
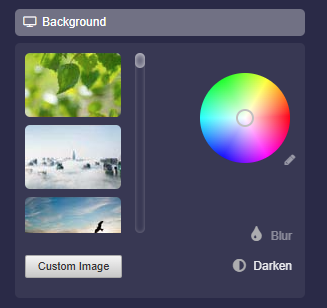
Background
-
You can customize the background of your map as you like.
-
- You can choose from the available background images.
- You can upload your own background image using the "Own Image" button.
- You can select any color using the color wheel.
- If you want to enter a color code, click on the small pencil icon next to the color wheel.
- By clicking on "Darken", the background will be darkened, which often leads to better readability of the map.
- By clicking on “Blur” the background will be blurred. This effect can help to perceive the boxes better.
-
⚙ background
6
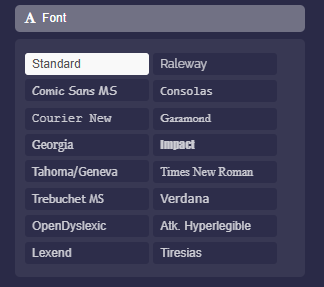
Font
-
You can choose one of 16 available fonts.
-
Notes:
-
⚙ font
7
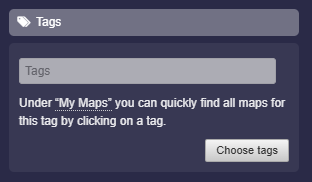
Tags
-
Under “Tags“ you can assign keywords to your map. These keywords help you quickly filter your maps.
- Under {“My Maps”}(https://www.edumaps.de/user/maps), you can then click on a tag to quickly find all maps associated with that tag.
-
The button “Choose tags” opens a dialog with pre-defined tags to choose from.
-
⚙ tags
8
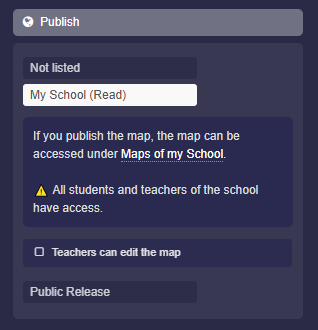
Publish: “My School”
-
Under “Publish”, you can make the map discoverable to all students and teachers at your school.
- Click on “My School (Read)” and save the map. This way, the map will be immediately available on the page “Maps of my School”.
-
You will also find the option “Teachers can edit map”. Check the checkbox, and all teachers at your school will be able to edit this map.
-
⚙ publishschool
9
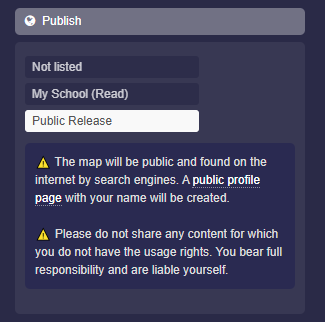
Publish: “Public Release”
-
Under “Publish”, you can make the map discoverable across the entire internet.
-
Click on “Public Release” and save the map, and it will immediately be available publicly.
- Furthermore, a public profile page will be created for you the moment your release your first map.
-
⚠️ The map is public and can be found on the internet. The map appears on your own public profile page, which is automatically created.
-
⚠️ Do not share content for which you do not have usage rights. You bear full responsibility and are liable yourself.
-
⚙ publish
10
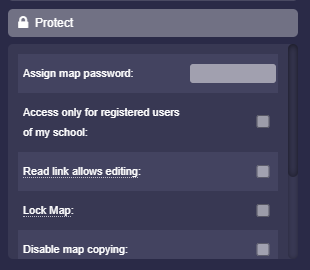
Protect
-
Under “Protect” you will find settings that affect access protection for the map.
-
The following options are available:
-
- Assign map password
- Access only for registered users of my school
- Read link allows editing (see here)
- Lock map
- Disable map copying
- Hide map owner
- Hide download buttons
- Regenerate map link
-
⚙ protect
11
Extras
-
Under “Extras” you will find many additional settings as a map owner.
-
In detail, these are:
-
- Scroll columns
- Assign map password
- Access only for registered users of my school
- Read link allows editing (see here)
- Disable map copying
- Hide map title
- Hide download buttons
- Hide participants
- Open links in same tab
- Fewer settings for students and anonymous
- Only map owner can create arrows, images, labels
- Edit arrows, images, text labels only by creator
- No live updates
- Always full box height
- No minimum box height
- Fixed box height (min: 100, max: 700)
- Fixed column width (min: 300, max: 700)
- Box spacing bottom (min: 0, max: 300)
- Column distance right (min: 10, max: 300)
- Font size in boxes (min: 10, max: 20)
- Font size of column titles (min: 10, max: 20)
- Rounding box corners (min: 0, max: 50)
- Rounding column corners (min: 0, max: 20)
- Regenerate map link
- Map language
-
⚙ extras
