

8.2 Guide for Admins: Managing Users, Classes, and the School
Edumaps Tutorial EdumapsIntroduction
-
✔️ With an admin account, you have a powerful, responsible tool at your disposal.
-
✔️ With an admin account, you can centrally manage the users, classes, and access for your school or organization.
-
✔️ This guide shows you step by step how to create, edit, invite, remove, or merge accounts, prepare classes as templates, and use administrative tasks such as CSV imports or login passes.
-
Please note: Admin accounts are a tool of responsibility.
📑 Table of Contents
-
- Create Single-Sign-Ons
- List of all Accounts
- Create Accounts for Students and Teachers
- Edit Accounts
- Delete Accounts
- Create prepared classes/groups as presets for teachers
- Invite Users to your School
- Remove User from School
- Merge User Accounts
- Update accounts (e.g. school year transition)
- Create Login Pass for Students
- Manual: “Edumaps for Admins – Step by Step”
1
Create Single-Sign-Ons
-
With various single sign-on solutions, your teachers and students can also log in to Edumaps.
-
For example:
-
- IServ (Instructions here)
- Edupool
- various state solutions
-
Important: Admin accounts should never be used personally and are never accessible via single sign-ons.
-
For your own maps, you should definitely use a teacher account.
-
However, you can always use the admin account to manually create accounts without single sign-on.
2
List of all Accounts
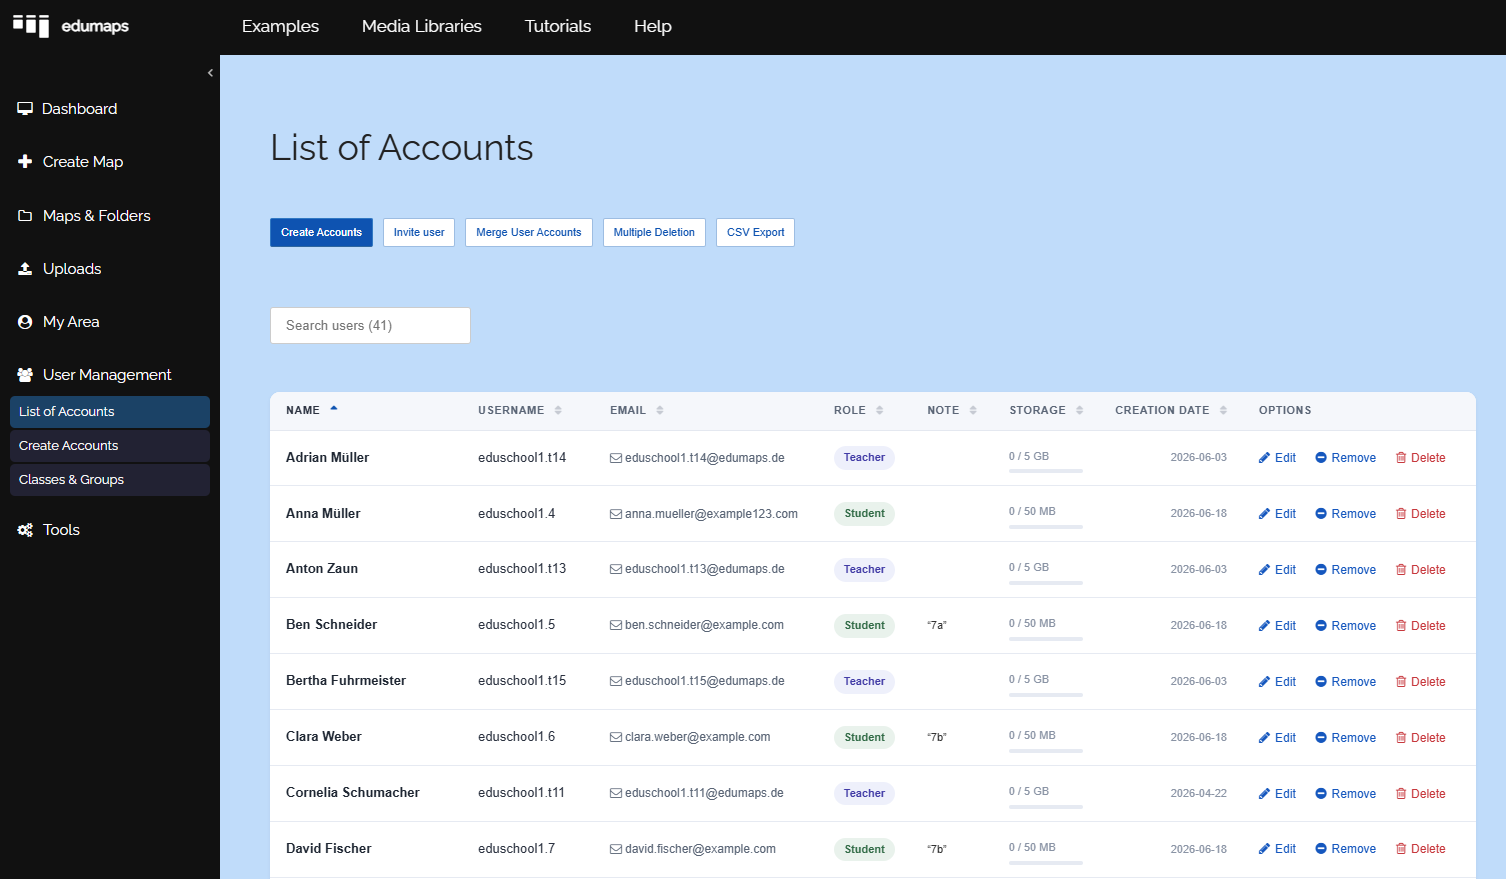
- You can find a list of all existing accounts on the page List of Accounts.
3
Create Accounts for Students and Teachers
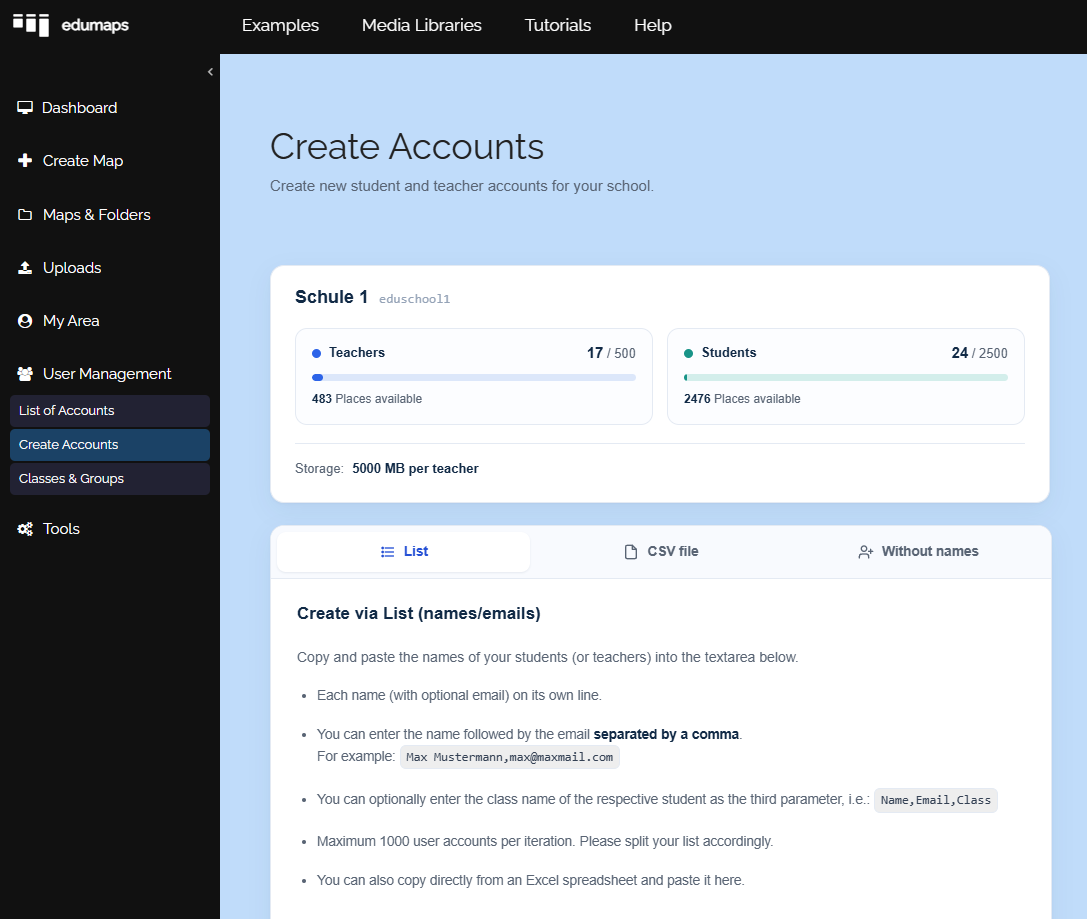
- On the page Create Accounts you can see how many student and teacher accounts can be created and how many have already been created.
-
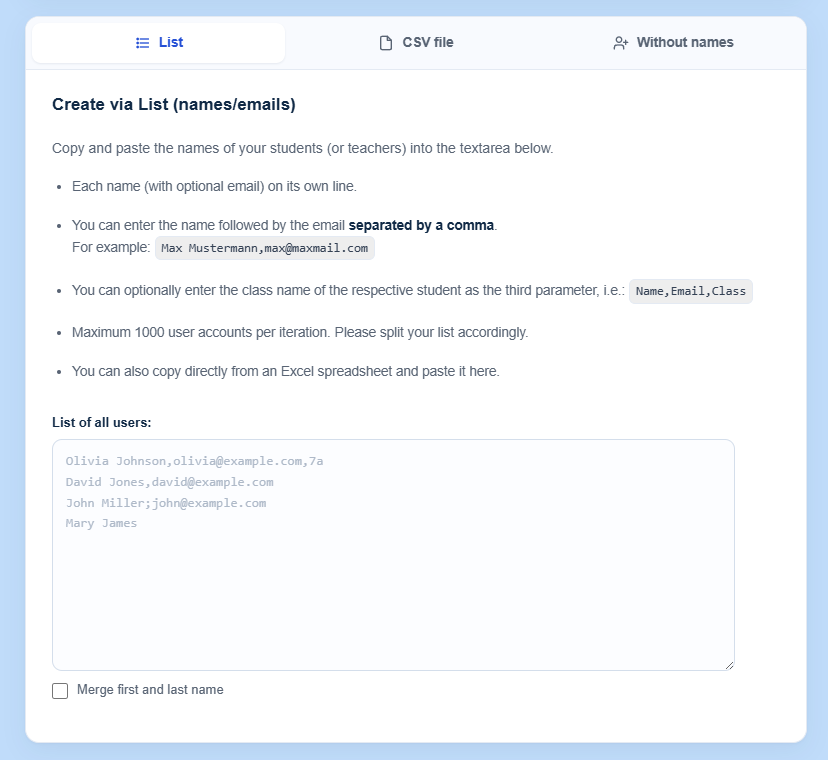
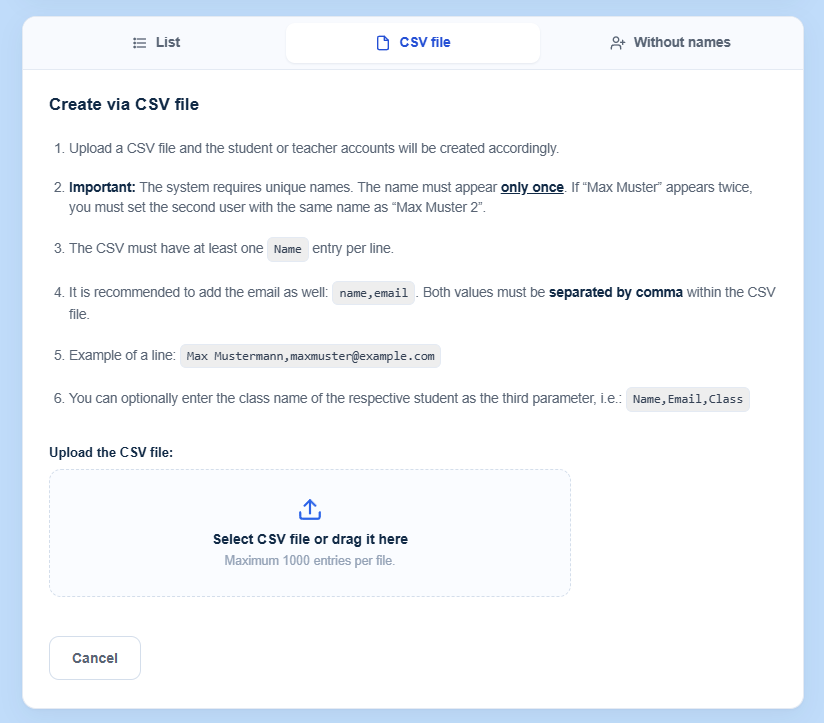
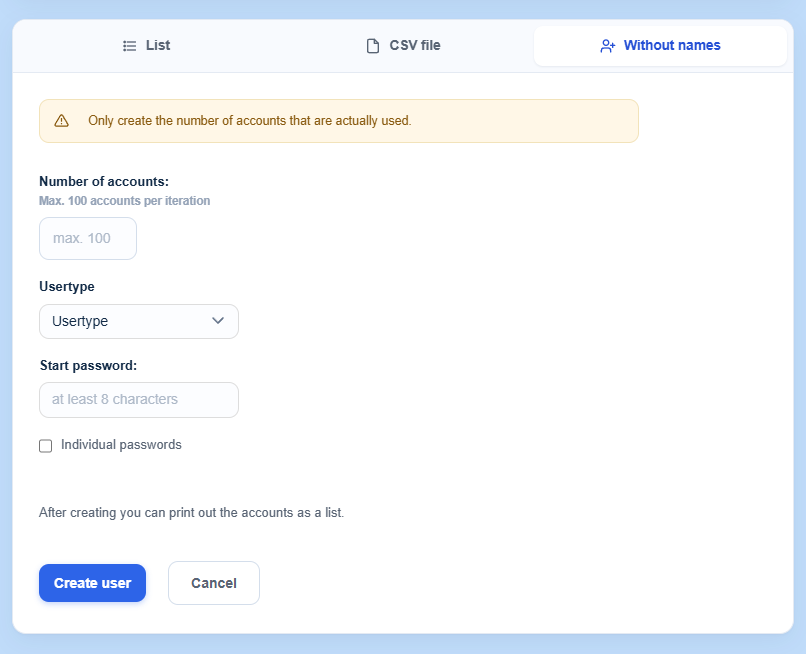
At the bottom you find 3 options for creating new accounts:
-
- Create without names/emails
- Create via list of names/emails
- Create via CSV file
-
Choose the option that suits you and create new student and teacher accounts.
-
-
Tip: When you create accounts via a CSV file, you can also specify the class name, which is imported into the system, in addition to name and e-mail.
4
Edit Accounts
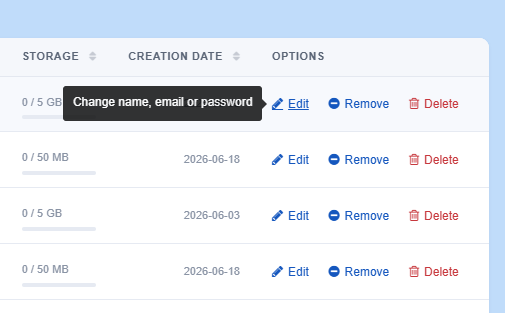
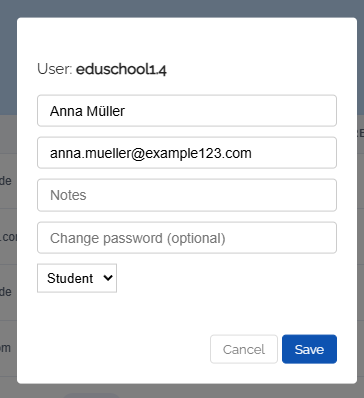
- On the page List of Accounts you can edit each user that is part of your school/organisation.
-
You can change the usernames, the email and the password by clicking on the pen icon.
5
Delete Accounts
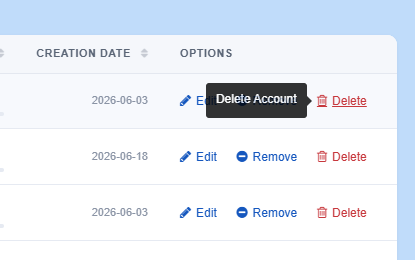
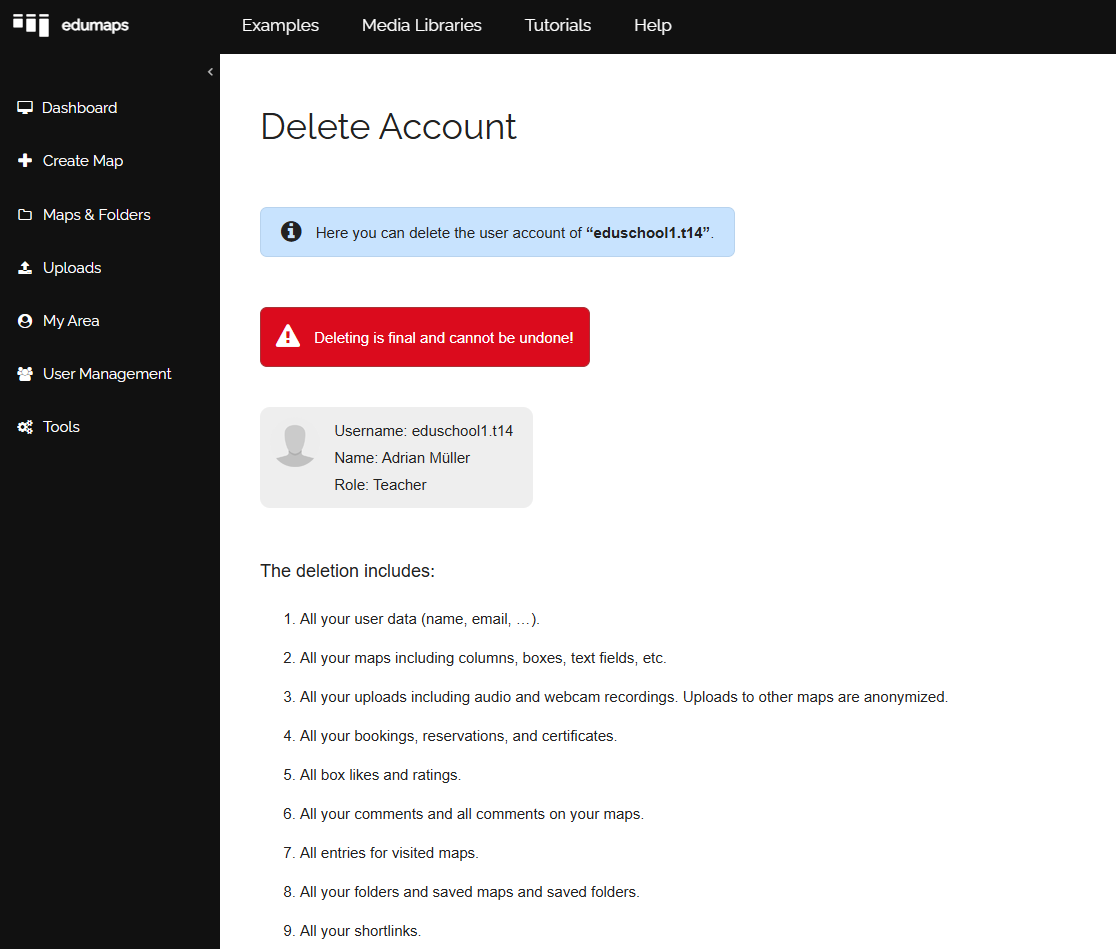
- Accounts can easily be deleted from the List of Accounts page.
-
Just click on the trash icon on the right, check if it is the correct account, and then confirm the deletion.
-
Users who still have maps in their account cannot be deleted for data protection reasons. To ensure that no content is lost, these maps must be reviewed first. Alternatively, you can remove the user from the school.
6
Create prepared classes/groups as presets for teachers
-
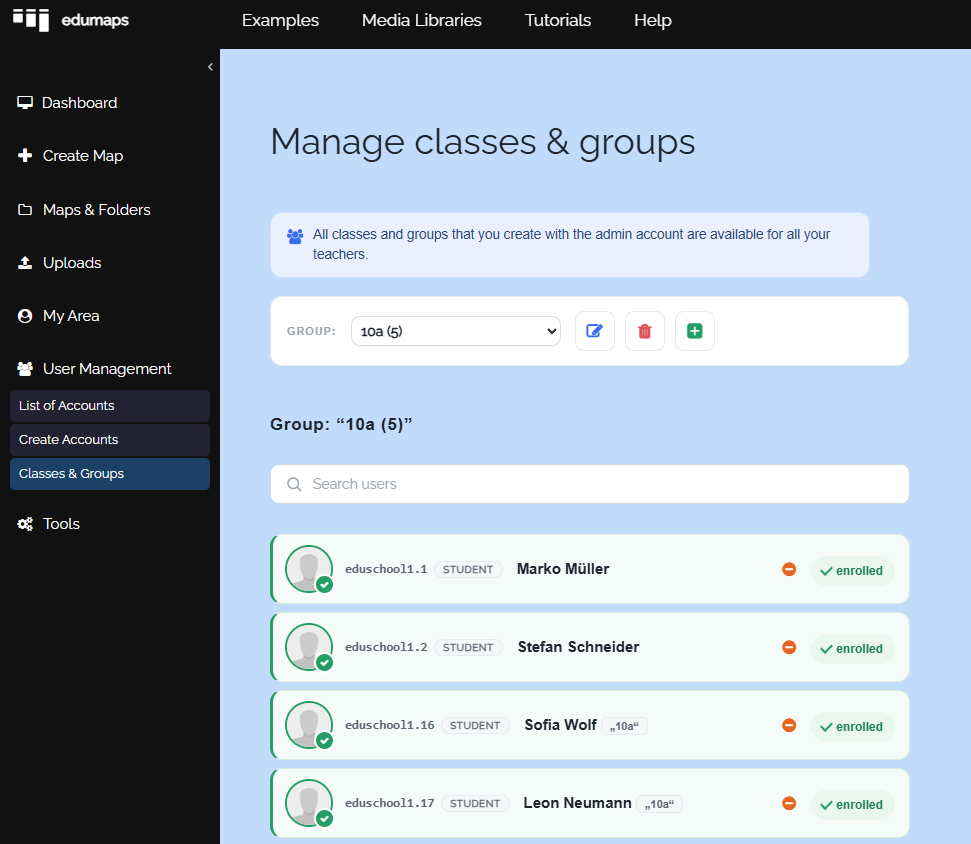
In principle, each teacher creates their own classes and groups, but a lot of time can be saved if you create classes with the admin account. Because the classes created by the school admin are available to all your teachers as “Prepared Classes”.
-
With an admin account you can create classes as follows:
-
- Go to the Manage Classes page.
- Create classes.
- Add students to each class.
- As soon as you have created classes, all your teachers will see a “Prepared classes” button on the Manage classes page. When teachers click on it, they come to a page where they can use the prepared classes.
7
Invite Users to your School
- On the List of Accounts page you can also invite existing users to join your school/organization.
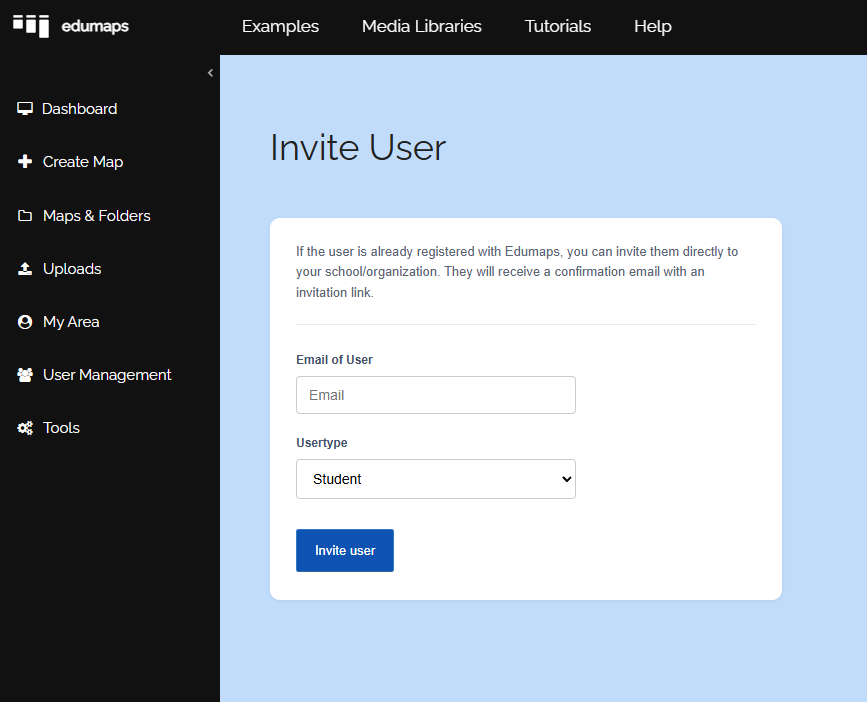
- To do so, click the blue button "Invite user" which brings you to the page Invite user.
-
Enter the user's email and they will receive an invitation link.
-
Important: The user must already have an account with Edumaps, only then they can be invited.
8
Remove User from School
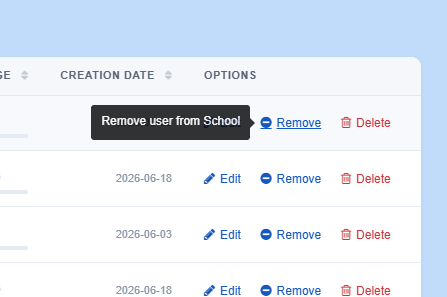
- On the page List of Accounts, you can remove teacher and student accounts from the school/organization.
-
Click on “Remove” and confirm.
-
If you remove a student or teacher from the school, the account will be downgraded to a basic account. This means the user will no longer have access to the “My School” or “Media Center” pages. In addition, they will no longer be able to access licensed media.
9
Merge User Accounts
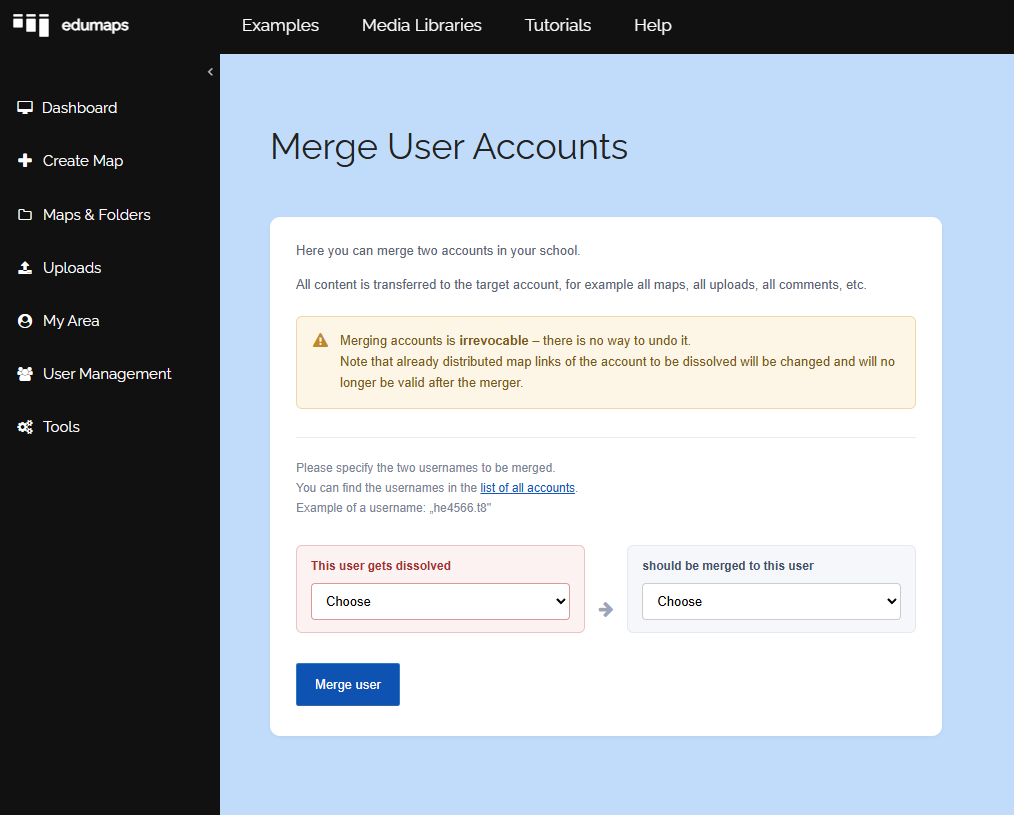
- On the page List of all Accounts you will find the button “Merge accounts”.
-
Here you can merge two accounts with each other, meaning, combine the data.
-
Both accounts must be associated with your school.
-
Please note that a merging of accounts cannot be undone.
10
Update accounts (e.g. school year transition)
-
At the turn of the school year, there are two ways to update the accounts. In most cases, the first one is all you need.
-
Case 1: Only the class names change
- If all classes simply move up one grade level at the turn of the school year, use the Rename Classes page. Click "School Year Change" there. All class names are automatically raised by one grade level, "7A" becomes "8A". No CSV import is needed for this.
-
Case 2: Updating account data via CSV
-
If you also want to update account data (new email addresses, individual students changing classes, new students), you can use the CSV import method.
-
- Go to the Create Accounts page with your admin account.
- Click on "Create via CSV File" and upload your CSV file.
- Important: The system requires unique names. The name can only appear once. If "Max Muster" appears twice, you must set "Max Muster 2" for the second user with the same name.
- The CSV must contain the entry
Name,Email,Classper line for class updates. The email can be empty, for example:Max Muster, ,10B - Then submit the file. A verification report will be automatically generated by the server indicating which data will be updated.
- Correct the data as needed (you can change the data directly in the verification table). Click "Check All" again and then, if no errors are shown, click the "Create User" button.
-
When importing CSV files, the server checks whether the respective name and email address are already contained in the Edumaps user database. The name takes precedence in the check (names must be unique). After uploading the CSV file, you will see a verification report that lists all changes in detail. No accounts are overwritten, existing accounts are updated in a targeted way.
- Existing classes are kept during the CSV import. Classes from the CSV file that do not exist yet are created as new classes. You can then delete classes that are no longer needed (for example, empty classes from the previous year) under Manage Classes.
-
Follow-up question 1: "Do maps shared by teachers remain accessible in the student accounts if a class is deleted?"
-
Answer: Yes, each student will still find the maps shared via class in their "Received Maps", even if the class is deleted.
-
Follow-up question 2: "Do maps created by students themselves remain accessible?"
-
Answer: Yes, deleting classes has no effect on self-created maps.
-
⚙ update
11
Create Login Pass for Students
-
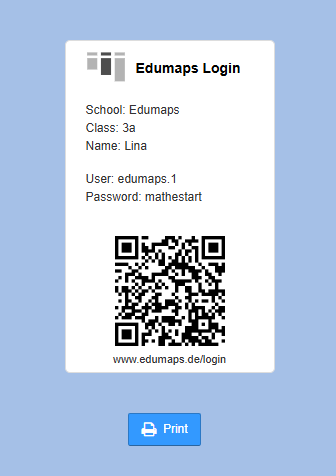
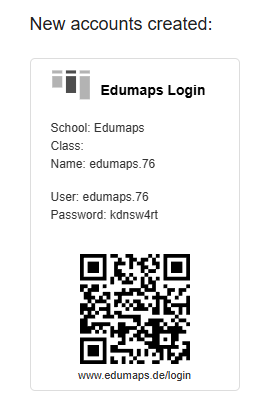
It has been found helpful for young students to create a login pass. The login pass contains all necessary login information as well as a QR code that logs the student in directly upon scanning.
-
As an admin, you can always print login passes immediately after creating accounts.
-
Should you wish to create a login pass later, it is only possible by assigning a new password.
-
- Go to the list of all accounts.
- Find the student and click on "Edit".
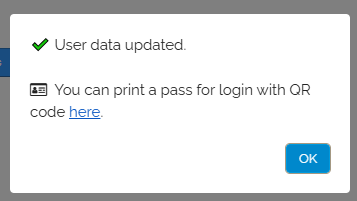
- Set the new password. Then the following appears:
-
-
By clicking "print here," the login pass for the student will be displayed to you.
-
12
Manual: “Edumaps for Admins – Step by Step”
-
Further knowledge and guidance on handling admin accounts can be found in the following manual: