5.3 Lending System
Edumaps Tutorial Edumaps
1
Activate Lending
-
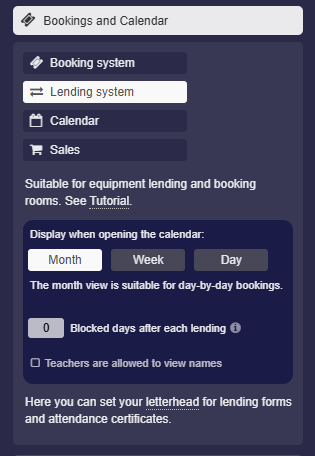
To activate the lending system for a box, open the box settings, click on “Calendar and Bookings”, and then select “Lending system”.
-
Afterwards, a “Reserve” button will appear on the box.
-
⚙ activate

2
Settings for Calendar View
-
For the calendar you have the following settings.
-
The “Display when first opening the calendar” determines the calendar view for the visitor.
-
The following modes are available:
-
- Month (for booking by day)
- Week (for booking by hour)
- Day (for booking by hour)
-
Letterhead
- At the very bottom you will also find the settings for your own letterhead, which will appear on the lending slip.
-
⚙ settings
3
Calendar View with Time slots
-
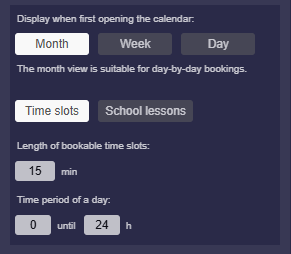
By default, the “Time slots” mode is active, which matches a familiar calendar with times:
-
Here you will find the following settings:
-
- “Length of bookable timeslots”: Specified in minutes – for example,
60means that you cannot book less than 1 hour.
- “Length of bookable timeslots”: Specified in minutes – for example,
-
- “Time period of a day”: Set start time and end time – for example,
8to16means the days are shown only from 8:00 to 16:00.
- “Time period of a day”: Set start time and end time – for example,
-
⚙ timeslots
4
Calendar View with School lessons
-
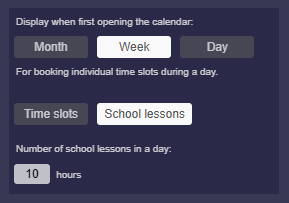
Choose the “School lessons” mode instead of "Time slots" so that each day is divided into a number of numbered school periods instead of times.
-
Enter the “Number of school lessons in a day” to specify how many lessons the day should have.
-
⚙ schoollessons
5
Blocked Days
-
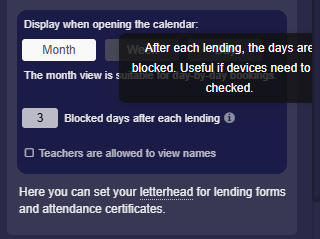
You can also define additional blocked days. This means: After each booking, the days are blocked. Useful if devices need to be checked.
-
The blocked days appear in the lending calendar as blocked days and cannot be booked.
-
⚙ blocked-days
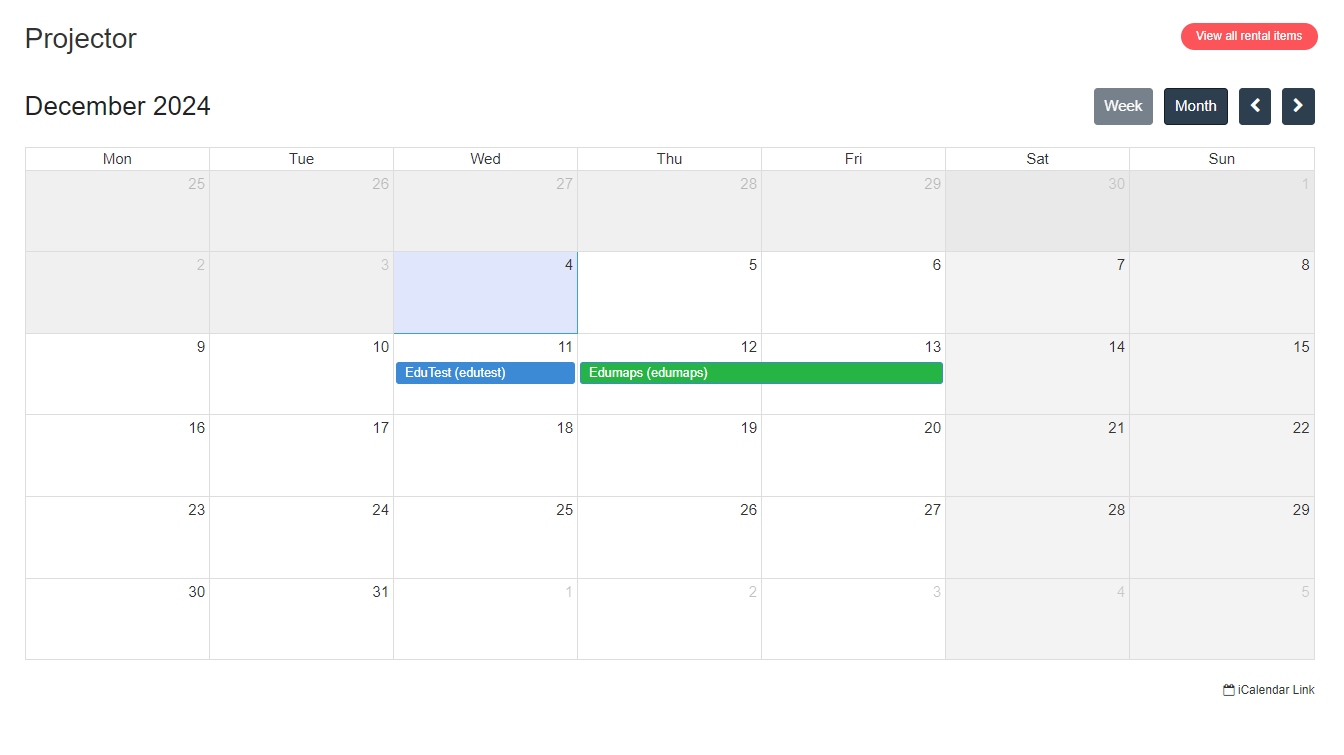
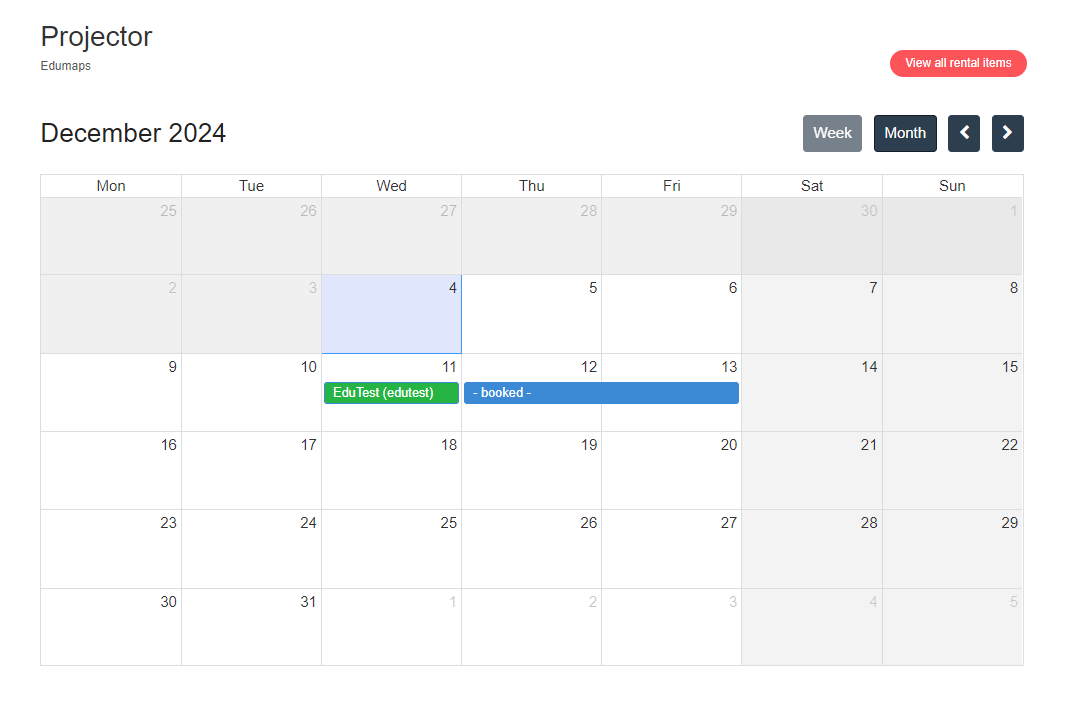
6
Visibility of the names of the borrowers
-
By clicking on the reserve button, the calendar for the loan item is displayed.
-
Only the map owner (lender) can see the names of the borrowers in the calendar.
-
The person making the reservation sees other reservations as
- booked -and their own reservations are highlighted in green. -
⚙ names
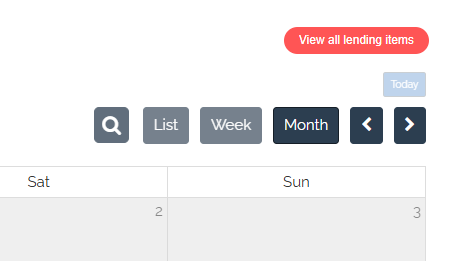
7
Overview of all lending items of the current map
-
By clicking on the reserve button, a calendar opens. There you will find a red button at the top right "Show all lending items".
-
When you click on it, an overview of all lending items on the map opens.
-
This way, every user can see at a glance which devices are available on which days.
-
⚙ lending-items
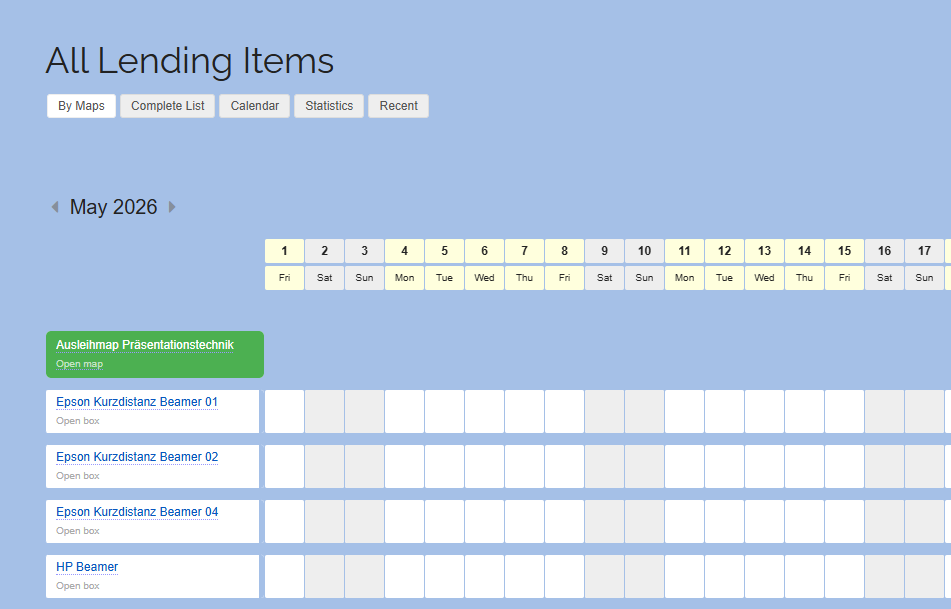
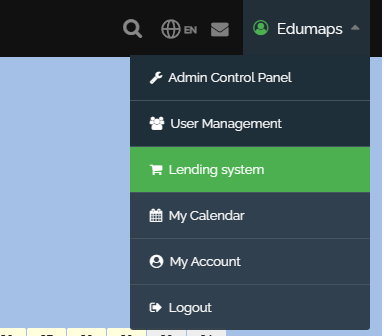
8
Overview of all Reservations for the Lender
- The lender finds an overview of all their devices on the page “All Lending Items”.
-
In the user menu, this page can be accessed via the entry “Lending System”.
-
There, the lending items can be sorted alphabetically or organized by maps. All maps that contain reservations are considered.
-
⚙ reservations-lender
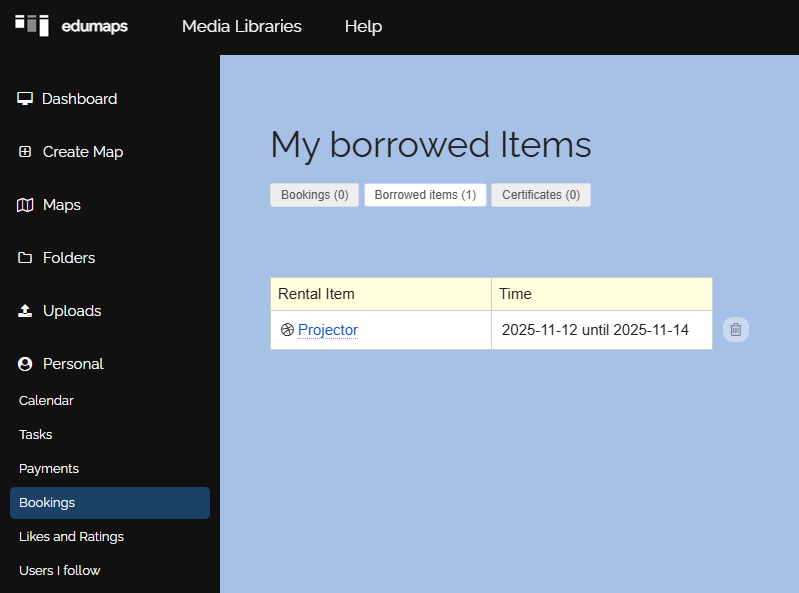
9
Overview of all Reservations for the borrower
- The borrowers can view their reservations on the “My Bookings” page.
- Alternatively, each user can open their user calendar and find all bookings and reservations accumulated there.
-
⚙ reservations-borrower
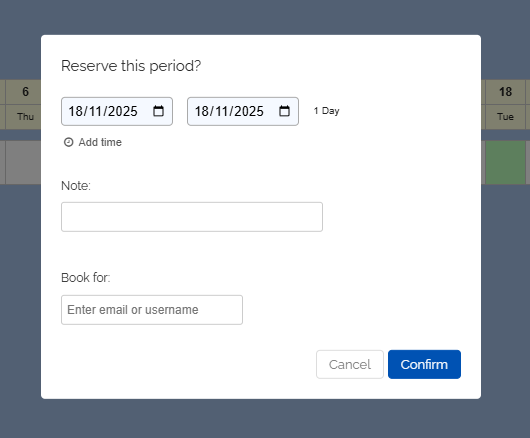
10
Create Reservations yourself
-
As a lender, you can view "All lending items" and click on the timeline to enter any reservation you wish.
-
Here, you can use the “Notes” field to add your own remarks.
-
If you see the “Book for” option, you can create a booking for another user.
-
⚙ create
11
Delete Reservations
-
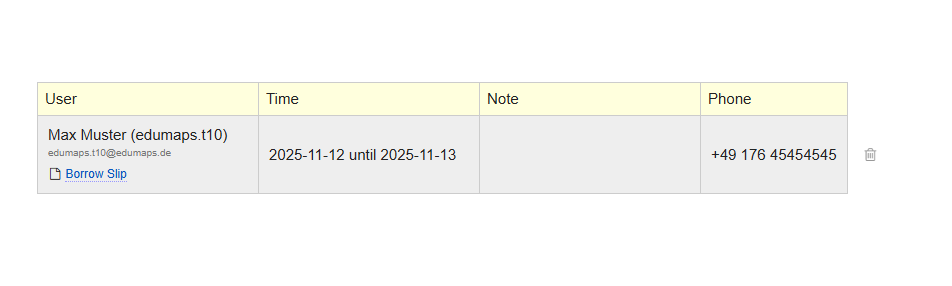
On the “All Lending” page, you can click on an appointment within the timeline. In the dialog, alongside the data, you will find a delete icon.
-
Alternatively, below the reservation calendar of the respective box, you will find a tabular listing of the reservations. You can also perform the deletion there.
-
⚙ delete
12
Delete Reservations by Borrower
- The borrower can can delete his reservations on the page “My Bookings” if they have not yet started.
-
⚙ delete-borrower
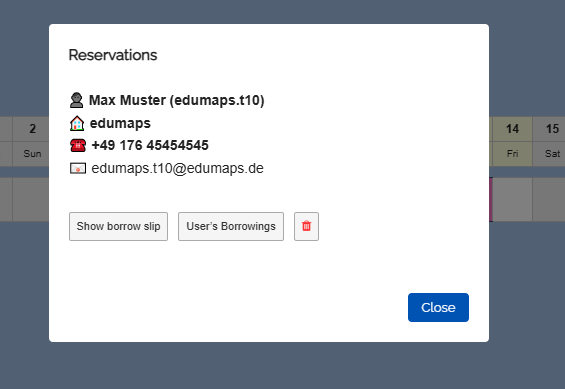
13
Contact the Borrower
-
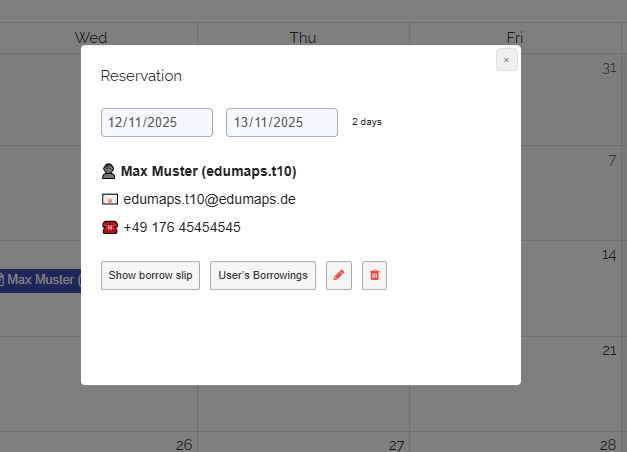
Open the "Timeline" of the reservations, then you can simply click on an appointment and you will see all the essential contact details of the borrower.
-
Alternatively, you can also find contact details below the calendar box, in the list of all reservations.
-
⚙ contact
14
Notification about Reservation
-
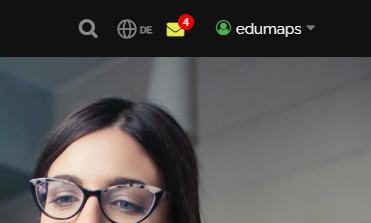
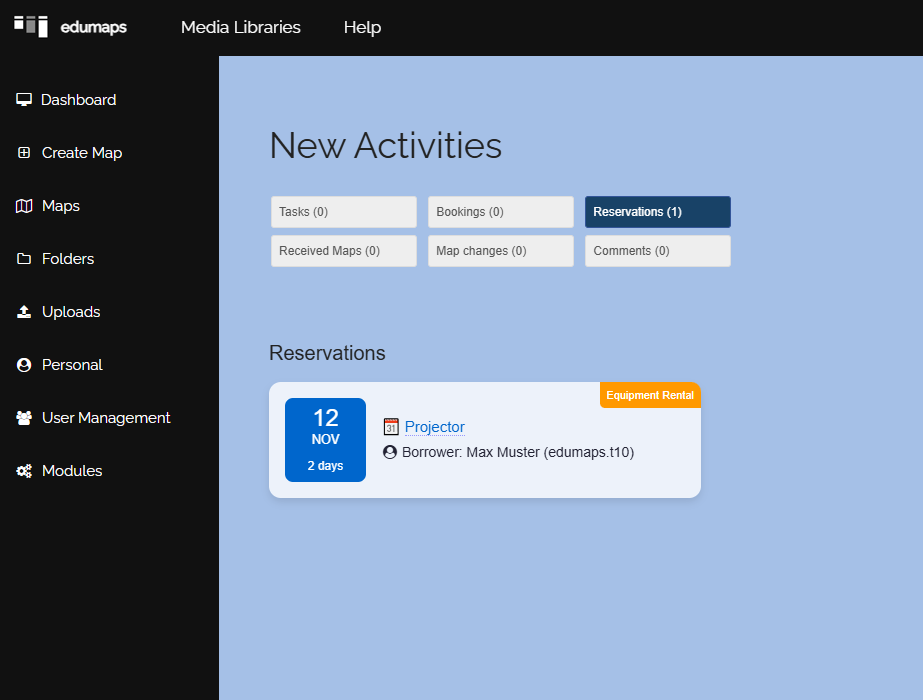
The lender always receives a notification for reservations. This appears at the top right of the website.
- Clicking on the notification icon opens the page of all Notifications. The new reservations are listed there.
-

-
⚙ notification
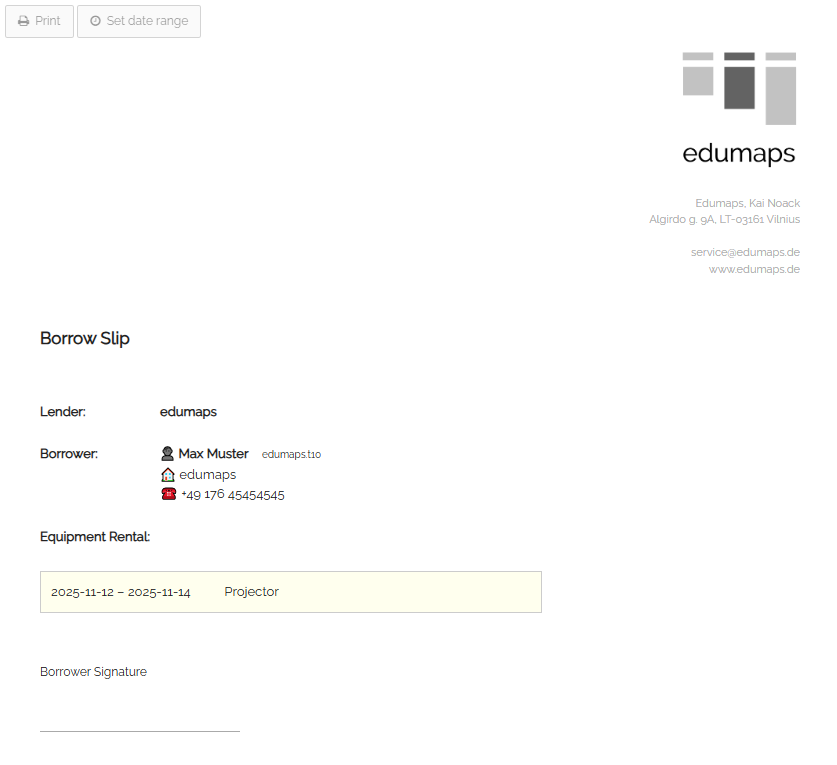
15
Display and Print Borrow Slip
-
Click on an the reservation in the calendar or in the timeline (“All Lending Items”), and the following dialog will open with the reservation details:
-
Click the "Show borrow slip" button, and the borrow slip for this reservation will open.
-
You can print this borrow slip directly. It can be signed by the borrower when picking up the device.
-
Incidentally, all devices booked by the borrower are listed here. Click on one of the devices in the borrow slip, and it will be removed from the list (visually only).
-
⚙ borrowslip
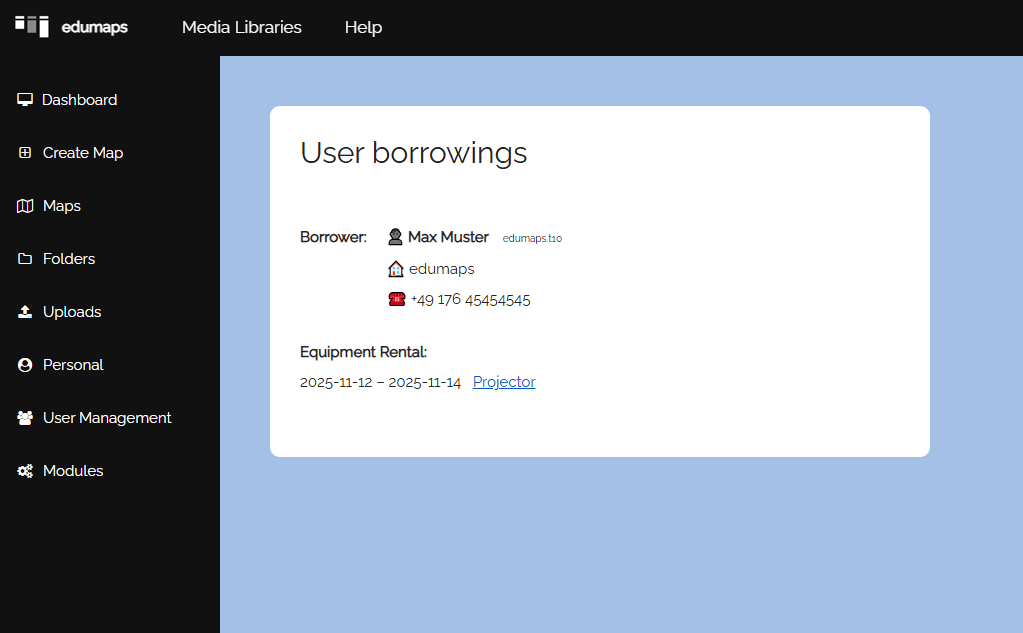
16
All Borrowings of a User
-
As a lender, you will find the option "User's Borrowings" in the reservation details:
-
Click the “Show borrow slip” button to open a page with all borrowings that the borrower has made with you:
-
⚙ borrowings
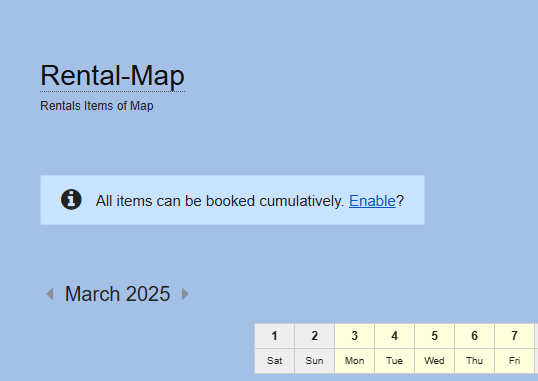
17
Cumulative Reservation
-
You can make multiple devices bookable at once.
-
To do this, create a Map and enable the "Cumulative Reservation" option under "Extras".
-
Tip: You can create a central map with all devices (boxes) and create separate maps where you embed selected boxes. These boxes are also active in other maps and can be reserved.
-
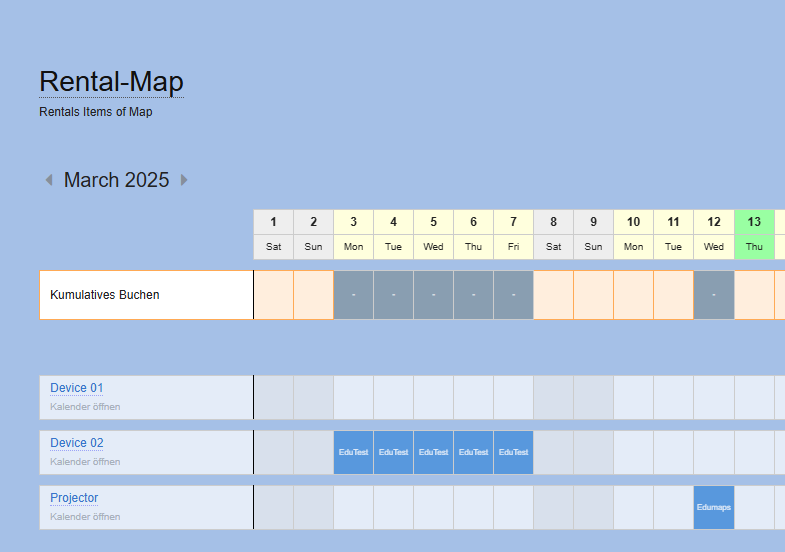
When the user now opens a reservation calendar and clicks on the red button "Show all lending items," a note appears indicating that the user can book all lending items cumulatively.
-
Now a separate line appears in the timeline, showing all the available days that can be cumulatively booked.
-
⚙ cumulative
18
Hint: Reservations through non-registered users
-
We recommend creating a separate admin account for lending purposes.
-
For example, if a kindergarten wants to borrow a device from you and does not have an account with Edumaps, create a "student account" within this admin account. Enter the name and optionally the email address.
-
Now you can borrow a device in the calendar using this account. You can also pass the login details to the kindergarten.
-
This way, you can keep track of who borrowed what and when.
-
This also allows you to correctly print loan slips based on the user.
-
⚙ nonregistered
19
FAQ
-
FAQ:
-
- How can a user reserve multiple devices at once? – The user who wants multiple devices must book them individually. Alternatively, the device borrower can create a group of devices and lend them using a box.
-
- How can the device number be noted? – Simply enter the device number in the box title.
-
- How to completely deactivate lending (e.g., during downtimes) without losing reservations? – Simply hide the box from the map.
-
- How to delete all reservations at once? – Disable the reservations option for the box and save the box.
-
- How to enter lending fees? – Enter fees directly into the box content as text.
-
- Can the borrower send reservation requests? – Reservations are made on a “User First” basis, meaning the user can directly reserve. Afterwards, the borrower can contact the user and make changes as needed.
-
⚙ faq