1.6 Box Settings
Edumaps Tutorial Edumaps📑 Table of Contents
1
Box Settings
2
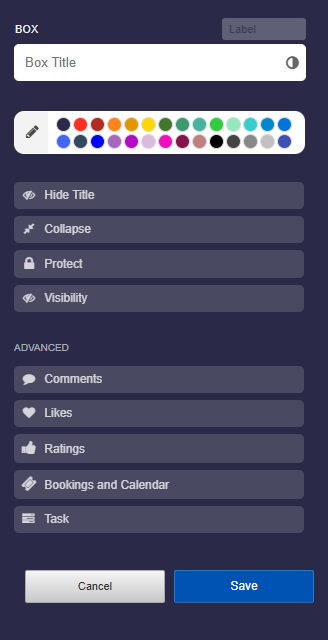
Title of the Box
-
You can set the title as you like.
-
You can also insert emojis.
-
Characters from any language are possible. There are no restrictions.
-
-
Font Color
-
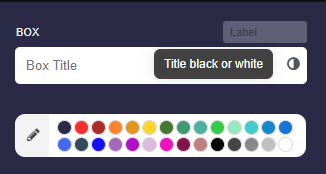
By clicking on the black-and-white icon, you can change the box title to white or black.
-
⚙ title
3
Format text in the title
-
For Advanced Users:
-
You can also style the text of the title. The following formatting options are available:
-
1. Set Bold and Italic with asterisks.
**Bold Heading** and here is an *italic word*.-
-
2. Line breaks can be achieved with two backslashes.
First line of the title \\ Second line-
-
3. Colors can be set using hex color codes:
My {blue title}{#00F}-
-
4. Font size
-
Font size can be increased or decreased as follows:
<big>My big title</big> and <small>a small text</small>
4
Linking the Title
-
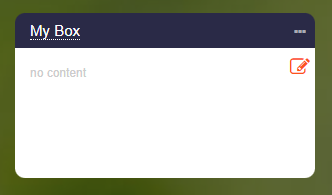
You can link the box title by simply adding the link right after the box title.
-
📝 Input (Example):
Box title https://www.wikipedia.org/-
⚙ linking
5
Label of the Box
-
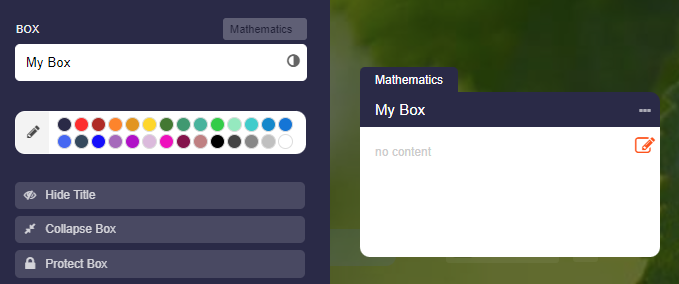
The box label is located to the left above the box title.
-
You can use the label, for example, to name the theme of the box content with a keyword or to specify a school subject.
-
The labels are also suitable for numbering boxes sequentially.
-
⚙ label
6
Color of the Box
-
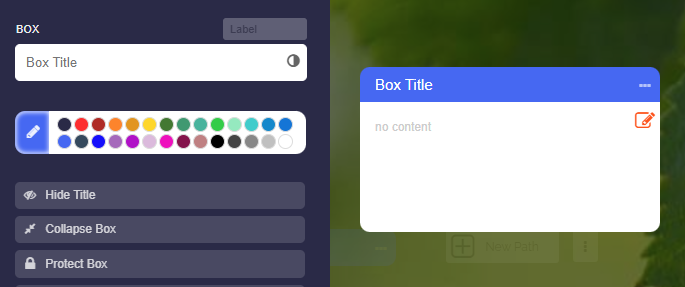
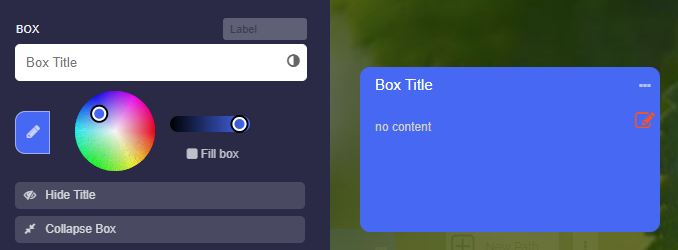
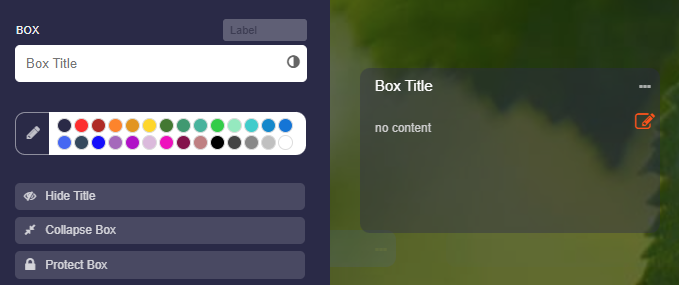
You can color each box title. Defined colors are available for this purpose.
-
Click on the edit pencil icon to display additional settings.
-
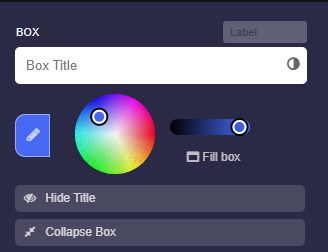
Here you can set a color code and adjust the brightness of the color. Additionally, you can completely fill the box with color.
-
Click on the pencil icon once more, and the following options will appear:
-
You can also enter a hexadecimal color code here. This is helpful if you want to apply the exact color code from another box.
-
⚙ color
7
Hide Title
-
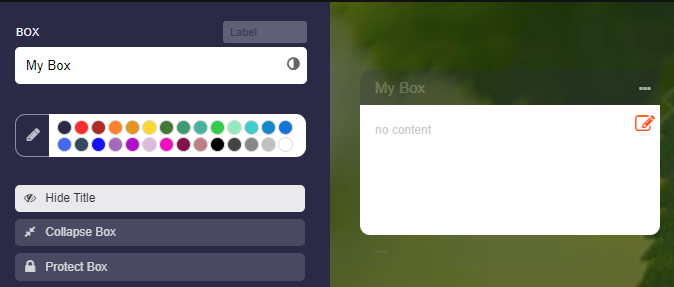
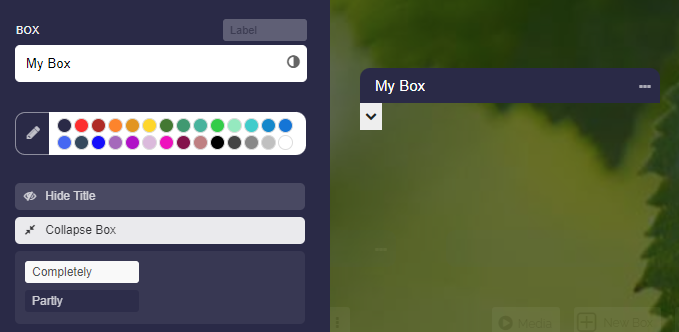
Here you can hide the title. It will then not be displayed in the map view.
-
In edit mode, you will still see the box title, as this is where access to the box settings occurs.
-
⚙ hidetitle
9
Protect Box
-
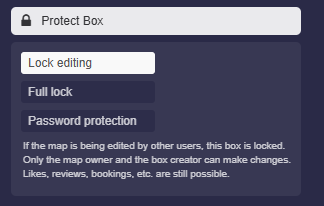
With the “Protect box” setting, there are various ways to protect a box.
-
- “Lock editing”
- “Full lock”
- “Password protection”
-
1. Lock editing
-
If the map is being edited by other users, this box is locked. Only the map owner and the box creator can make changes. Likes, reviews, bookings, etc. are still possible.
-
2. Full lock
-
In addition to the box content, likes, comments, polls, ratings, calendar, and bookings are also protected. Usage by others is no longer possible.
-
3. Password protection
-
In the map view, the correct password must be entered to make the box visible.
-
-
If you only want to share a single box from your map without revealing the other boxes, this is also possible. See the tutorial here: Share a single box.
10
Comments
-
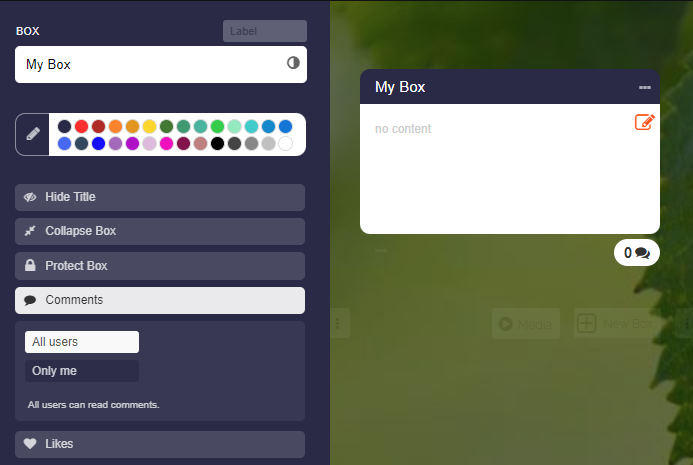
You can enable the comment function for the box. Then you will see two options:
-
- “All Users” - All users can read comments. This allows for discussions.
- “Only Me” - Only you can read comments. Helpful for private messages or homework submissions, etc.
-
⚙ comments
11
Likes
-
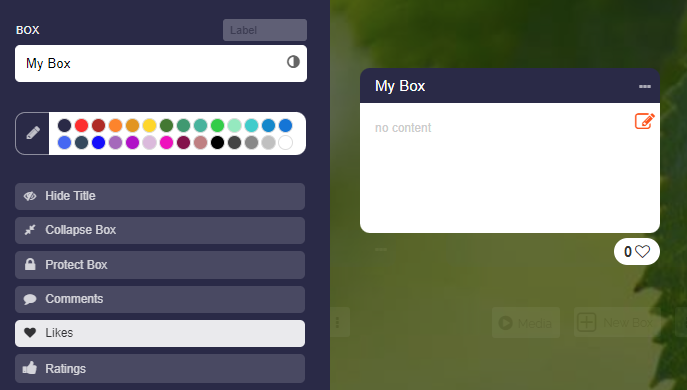
Enable likes for your box, so that other users can leave their likes by clicking on the heart icon.
-
⚙ likes
12
Ratings
-
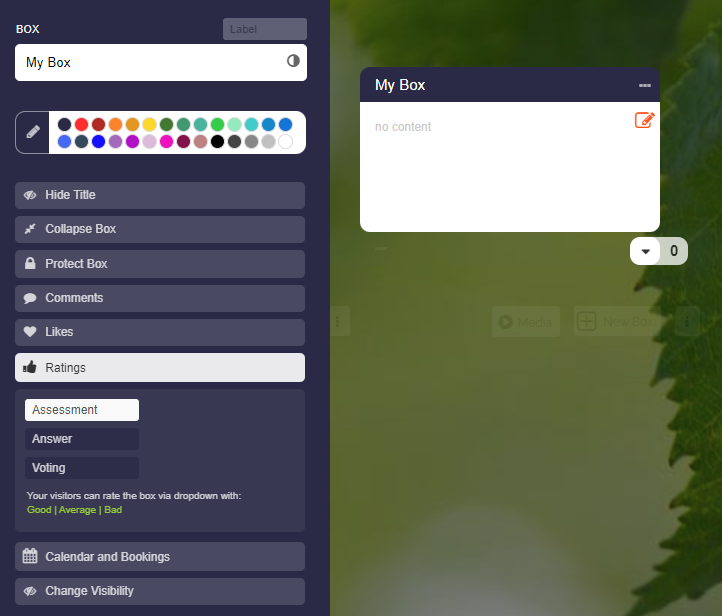
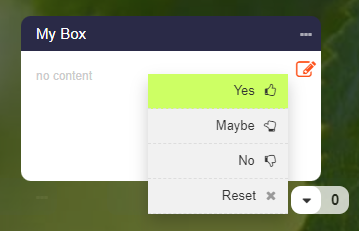
Enable ratings for your box, and three options will be available:
-
1. “Evaluate” - Dropdown with Good, Medium, Poor
2. “Answer” - Dropdown with Yes, Maybe, No
3. “Vote” - Dropdown with Option A, Option B, Option C -
⚙ ratings
13
Bookings and Calendar
-
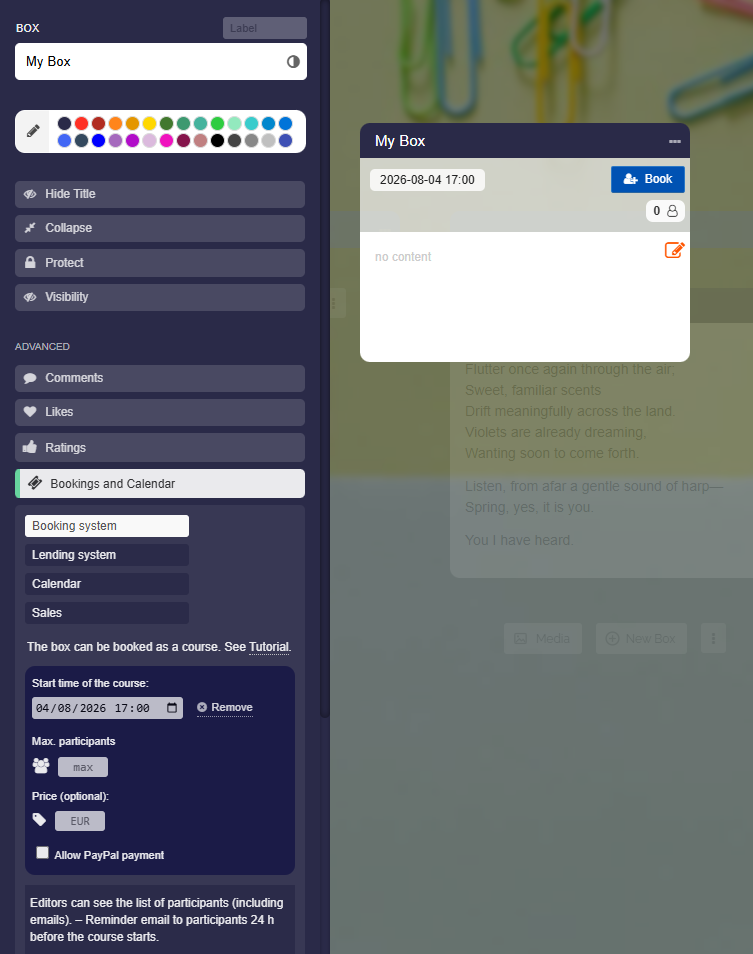
Activate “Bookings and Calendar” for your box, and three options are available:
-
- “Booking System” - The box can be booked as a course.
- “Lending System” - Usable for equipment rental and room leasing.
- “Calendar” - The box receives a calendar. Usable for school and lesson planning, events, projects.
-
These modules are comprehensive. Please take a look at the tutorials:
14
Change Visibility
-
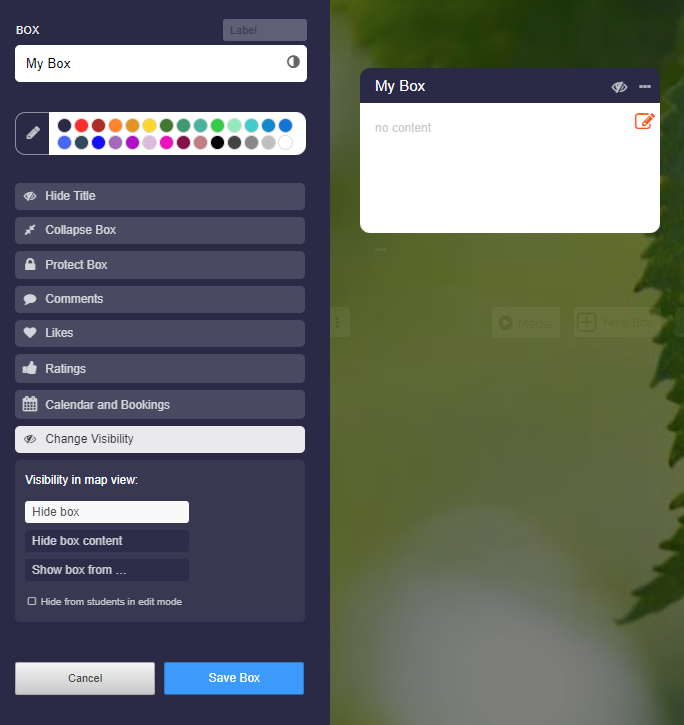
You can control the visibility in the map view via the “Change Visibility” option. There are three options available:
-
- “Hide box”
- “Hide box content”
- “Show box from …”
-
⚙ visibility
15
Visibility Settings
-
1. Hide Box
-
The box will be completely hidden in the map view.
-
2. Hide Box Content
-
Only the box content will be hidden in the map view. The box title remains visible.
-
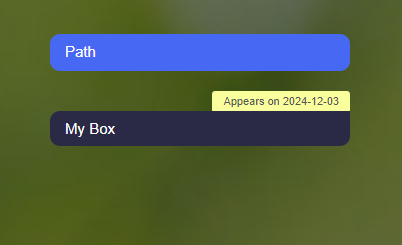
3. Show Box from …
-
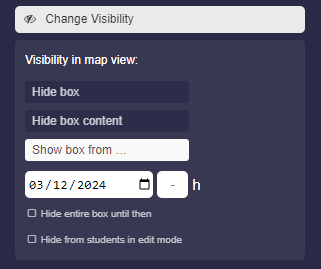
Here you can set the time from which the box will be displayed in the map view.
-
Enable the option “Hide entire box until then” so that the box is not visible in the map view. Otherwise, the box title will be displayed with the note “Appears on …”.
-
Additional Option: Hide from Students
-
Further down, you will find the option "Hide from students in edit mode", allowing you to make the box invisible to students even during editing.
16
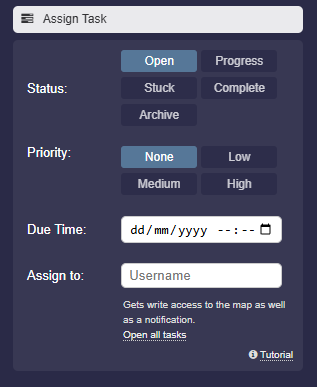
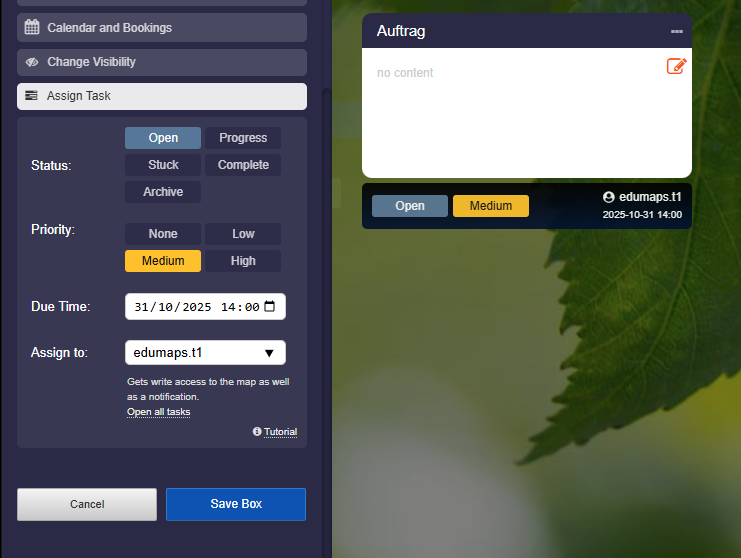
Assign Task
-
You can assign a task to a box – with status, priority, due date, and assignment to a user.
-
The task details appear directly below the box.
- You can find a list of all tasks here.
17
(Semi)Transparent Background Colors
-
You can make the background of boxes semi-transparent or fully transparent.
-
To create a semi-transparent background you need to:
-
1. Edit the box and click “Edit color” (pencil icon).
2. Click “Edit Color” a second time
3. You will now see the transparency slider that you can adjust. -
If you want to apply the semi-transparent color to the whole box, you have to click on “Fill”.
-
⚙ transparent
18
Create a new box at the very top
-
When you move the mouse over the empty area below the column title, the “Add box” button appears.
-
Click the button to insert a new box at the very top.
-
⚙ boxontop