6.1 Tutorial for Teachers on Edumaps
EdumapsWhat is Edumaps
General Information
-
✔️ With Edumaps you can:
-
- Create pinboards, timelines and stickerwalls
- Create weekly plans
- Work in collaboration in real time
- Upload files in 100+ formats
- Embed media from Edupool and Mundo
- Manage students and teachers
- Record microphone and webcam directly
- Import existing Padlets
- Export maps as Moodle courses
- Create bookings/courses
- Automate Certificates of participation
- Organize Reservations for Rentals
- Write texts with your team in Teamtext
- Create content with our AI Assistant
-
Our startpage contains all the important information and details. Please take a look there.
- Our FAQ is very comprehensive and answers almost all questions: https://www.edumaps.de/faq
-
We wish you and your students a lot of joy and easy organization with Edumaps.
GDPR compliant
1. Teacher Account
1.1
Set up your Account
-
The following simple steps will set up your account:
-
- Login with Username and Password.
- Go to your profile.
- On your profile you see, which school you belong to.
- There is also a hint that you should set up your account which links to the setup-account-page.
- There you specify your email and password. Optionally you can add your name and your class.
- Confirm and your account is set up.
- Next an email is sent to you with a link to confirm your new email address. Please click this link.
-
Your email address will help to recover your password if you forgot or lose it. Otherwise your teacher can change your password using the admin account of your school.
1.2
Remove your Data / Delete your Account
-
Remove your Data
- If you like to delete all your data, you can open your user profile, scroll down and click „Remove Data“.
- On the Remove Data page you can see all the data that will be deleted.
-
Note: The deletion is final and cannot be reverted.
-
Confirm by clicking the button “Remove my data”.
-
-
Delete your Account
- To delete your account, open your user profile, scroll down and click „Delete Account“.
- On the Delete Account page you can see all the data that will be deleted.
-
Note: The deletion is final and cannot be reverted. – Your account gets immediately deleted and cannot be used afterwards.
-
Confirm by clicking the button “Delete my account”.
1.3
List of all Students
-
The list of all student accounts can be found at:
- https://www.edumaps.de/users/list
1.4
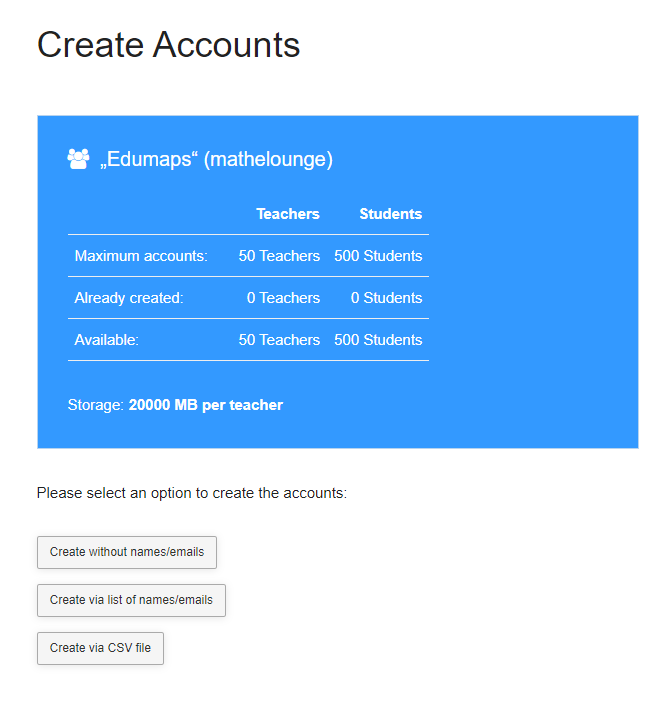
Create student accounts
-
Student accounts can only be created with an admin account.
-
As a customer, you receive the login to the admin account directly from us.
- The page to create accounts you find here: https://www.edumaps.de/users/create
-
You can create teacher and students accounts.
-
There are different ways to create accounts:
-
- Create without names/emails
- Create via list of names/emails
- Create via CSV file
-
Choose the one that suits your needs.
1.5
Create Classes/Groups
- Each teacher can create their own classes or groups on the Manage classes page.
-
Classes are not “school-wide”, but are created by each teacher for their own account. You can also create any groups instead of classes (e.g. a math remedial course).
-
The maps can then be distributed to the students in the specified groups (“Share map to class”). Each student in the selected group will then receive a notification on Edumaps.
-
Classes or groups are created once and are available to the user in Edumaps and also in Matheretter.
2. Create Map
2.1
Map Formats
-
Pinboards, timelines und stickerwalls are called „Maps“.
-
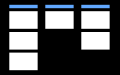
Pinboard
-
The pinboard consists of paths. Each path contains boxes.
-
Multiple paths are positioned side by side.
-
-
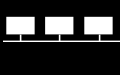
Timeline
-
The paths are horizontally arranged. The boxes are arranged from left to right.
-
Multiple paths are positioned below each other.
-
-
Stickerwall
-
The boxes are freely arranged. There are no paths.
-
-
❤️ Changing from one map format to another map format is possible at any time.

2.2
Create Map
-
To create a map click on “Create Map” in the main menu.
-
Use the Tutorial: Map Settings to familiarize yourself with the settings.
-
-
Notes:
-
- If you define “My School” under “Access to Map” then your map will show up for all students under “Maps of my School”
- Tags are used to sort your maps on the “My Maps” page by clicking on them.
2.3
Create Paths and Boxes
-
A map / pinboard consists of paths and boxes.
-
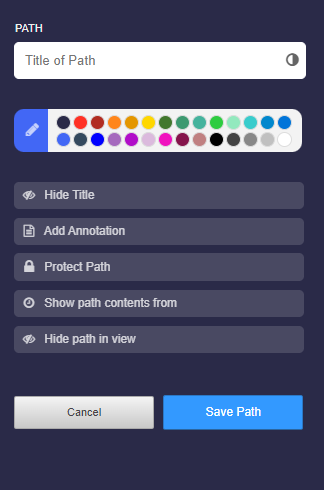
Creating Paths
-
- First, create a new map.
- Then click on “Add path”.
- In the path editor, give the path a title. Feel free to set various options.
-
Use the Tutorial: Path Settings to familiarize yourself with the settings.
-
Creating Boxes
-
- For a pinboard or timeline, you have to first create a path before the “Add Box” button appears.
- On a stickerwall, you can add a new box immediately without creating a path.
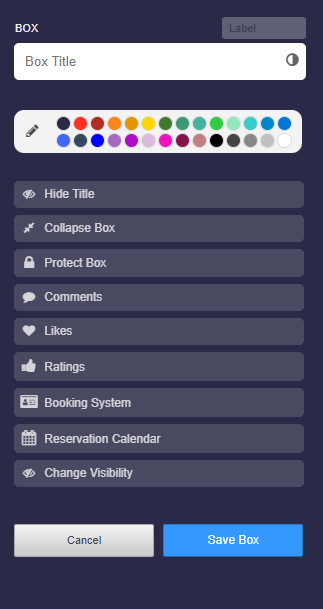
- In the box editor, give the box a title. You can also set various options.
-
Use the Tutorial: Box Settings to familiarize yourself with the settings.
2.4
Insert Material into Box (Media/Files)
-
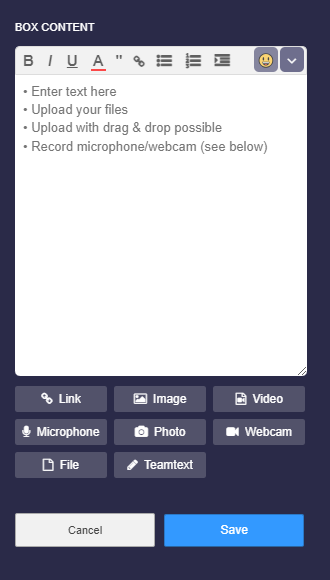
You can easily insert material into a box.
-
First click on the edit icon and then upload any file (photo, video, audio, etc.) by drag and drop or upload button.
-
Further, you can start microphone recordings, photo recordings and webcam recordings directly with the according buttons.
2.5
Edit Box Content
-
To edit the contents of a box afterwards, click the orange edit icon or double-click on the box background.
-
You can then use the editor to make your texts and materials look appealing.
- See Tutorial: Inputs and Formatting in the Box Editor
3. Edit and structure Maps
3.1
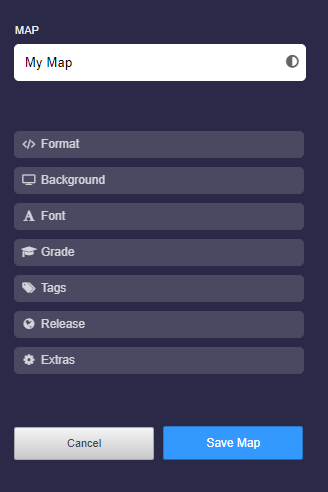
Change the Map Data
-
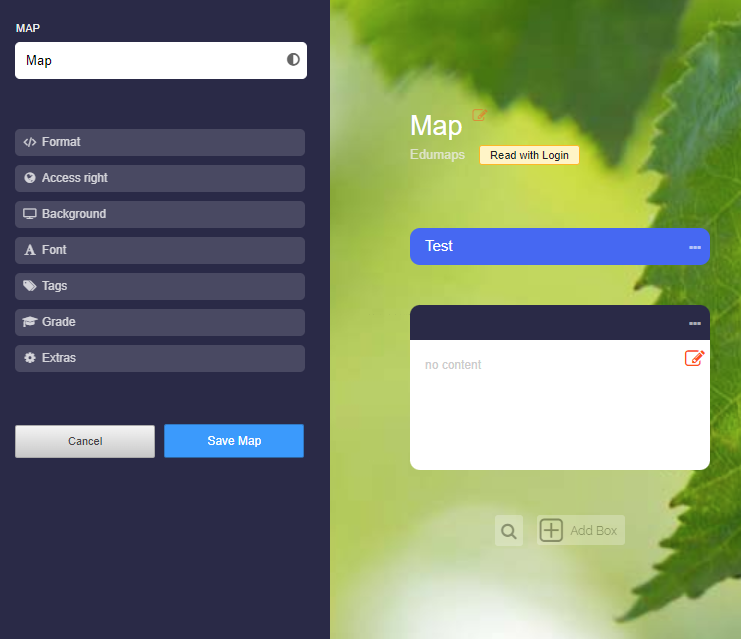
If you want to change the data of your map, you can click on the map title or on “Map Settings” in the map menu. This will open the map editor.
-
There are several options you can change:
-
- Map title
- Format
- Access right
- Background
- Font
- Tags
- Grade
- Extras
3.2
Move Paths and Boxes
-
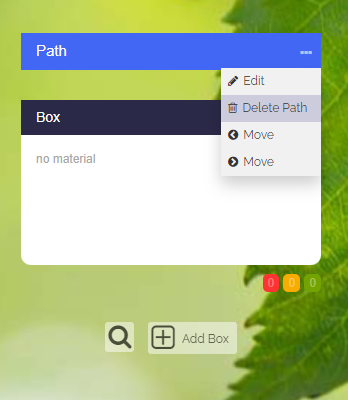
To move a path to the left or right, click on the three dots and choose “Move”:
-
To move a box to another position on the map, click on the three dots and choose “Move”. Then drag the box to the new position.
3.3
Delete Box or Path
-
Delete Box
-
To delete a box, you click the three dots and choose “Delete Box”.
-
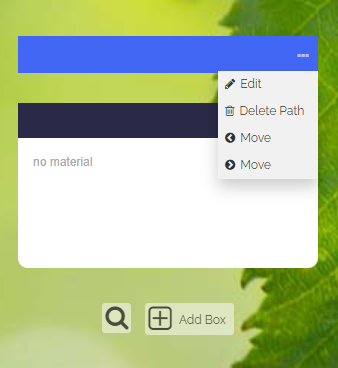
Delete Path
-
To delete a path, you click the three dots and choose “Delete Path”. Note that all boxes inside this path will also be deleted!

3.4
Delete entire Map
-
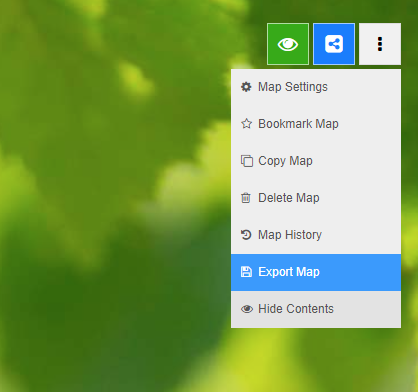
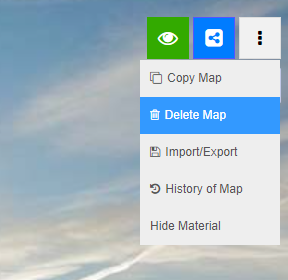
To delete the entire map, you click on the three dots on the top right and choose “Delete Map”.
-
Deleting an entire map deletes all paths and boxes.
- Uploads that were in this map are not deleted automatically because they could be used in other maps. To delete them, visit the upload manager and delete them manually.
4. Copy existing materials
4.1
Discover Maps and Copy Maps
- In the Edumaps Media Library, you can find maps and media that you can use freely.
-
Use the search and keyword selection directly on the discover page to find interesting maps.
-
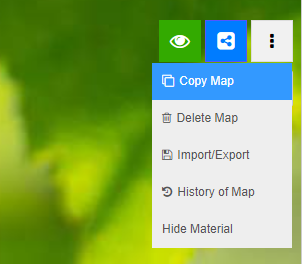
Any public map can be copied by you. Simply click on “Copy map” in the top right menu:
-
You can change the copied map as you like, redesign it and distribute it to third parties.
-
Maps of your own school
- If you click on the tab “Maps of my school”, you will see all the maps that the teachers of your school have shared.
4.2
Add external Media and copy boxes from other Maps
-
You can easily add external media or simply copy boxes from other maps.
-
See details in the tutorials:
5. Share Maps
5.1
Share Maps + Access Rights
-
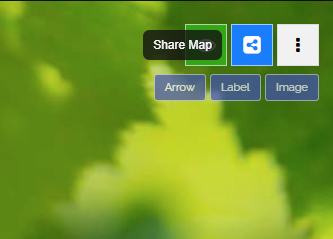
You share your map by clicking the share button at the top right:
-
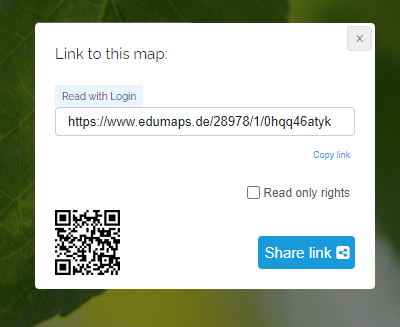
A dialog with the share link will then open:
-
You can send this link to your students or colleagues if they need to work on the map as well.
-
See tutorials under Managing and Distributing Maps
5.2
Share individual Boxes and Path
- Check out the Tutorial: Distributing Maps - Additional Options.
6. Feedback of Students
6.1
Rating of Boxes
-
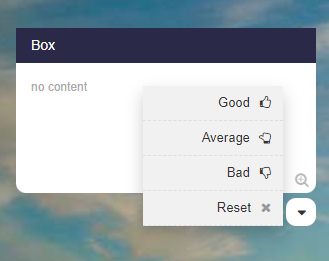
For each box a drop down can be activated that the students can use to gauge their understanding.
-
There are three types of ratings:
-
- Assessment (get feedback on how the contents of a box is rated)
- Answer (yes/maybe/no - make a poll)
- Voting (get feedback on which option A, B or C is preferred)
6.1
Comments for Discussions and Submissions
-
Comments can be activated for each box.
-
With the help of the comment function, discussions can be held or students can submit their solutions (directly to the teacher).
-
In the comments the following inputs are possible:
-
- Text input
- Image uploads
- Microphone recordings
- Uploads of media files
-
File „Screenshot: Comment Page and Recording Options“ was deleted.
-
Comments can be set to be only visible to the teacher or to anyone viewing the map.
-
All comments (including uploads) can be deleted by the teacher with just one click.
-
-
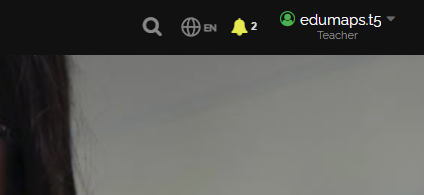
💖 Notifications about new comments are displayed directly on to the top right of the Edumaps website.
6.3
Notification of new comments
-
The notification for new comments is displayed in yellow in the top right-hand corner.
7. Uploads
7.1
Upload of Files into Boxes
-
You can upload any file to the editor.
-
For example photos, videos, PDFs, MP3s, GIFs, Word documents, ...
-
The allowed file formats can be found in the following map:
-
The upload works via drag and drop or with the upload button.
-
Thumbnails are generated for almost all uploaded materials.
7.2
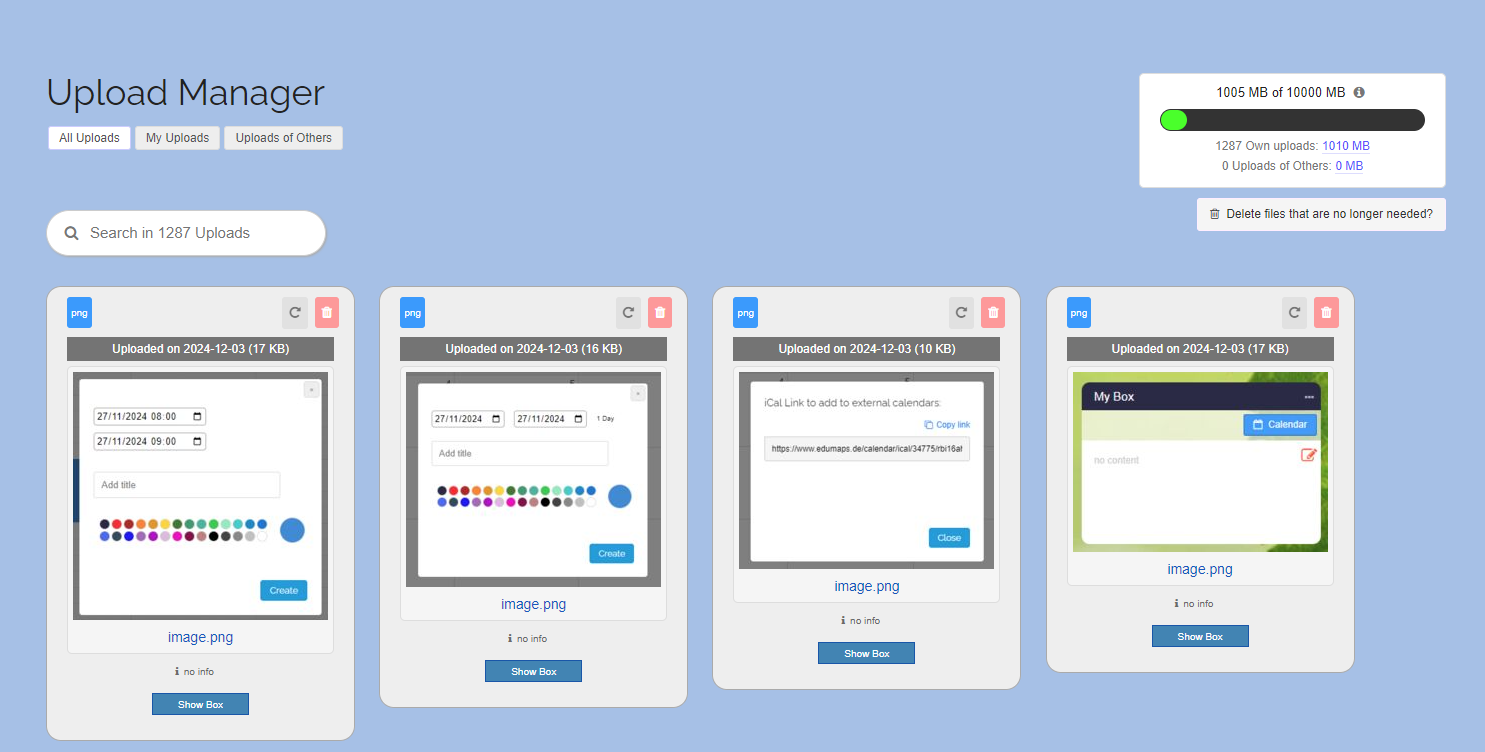
Overview of Uploads
- You can find an overview of all your uploads in the Upload Manager.
-
There you will see the name of each file, the upload date, file type and file size.
-
You can delete any of your files at any time.
-
Furthermore, you can see in which box you uploaded the file. Simply click on the “Show box” button.
-
You can also leave information (e.g. a source) as a reference for each file. Simply click on "no info" to open the input field. This information is only displayed to you.
-
The uploads can be filtered according to “All uploads”, “My uploads” and “Uploads of Others”.
7.3
Audio Recordings and Webcam Recordings
-
If you want to leave a message for your students, you can activate your microphone directly in the Box Editor using the "Microphone" button.
-
⚙ webcam

8. Storage Space
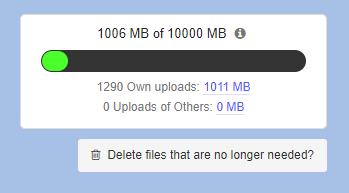
8.1
Storage Space
-
Each account has a certain storage space available. Teachers usually have 1 GB.
- In the Upload Manager you can see how much storage space is still available for you:
-
Accounting for storage space:
-
Your storage space will count towards:
-
- Your uploads to your own maps.
- All uploads to your maps from students/colleagues.
- Uploads at the comments of the boxes of your maps.
9. More
9.1
Create a Backup of your Map
-
You can create a backup of your map by exporting the file as a CSV file.
-
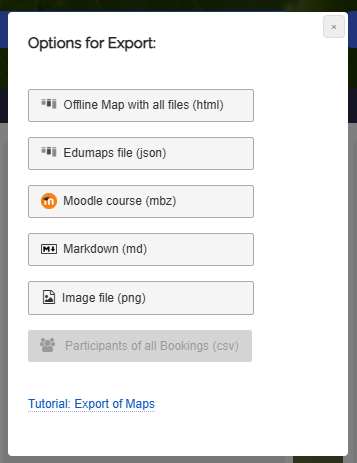
To do this, simply click on the top right of the map (in edit mode) and select "Import/Export".
-
Then the following dialog opens:
-
Here click on “Edumaps (json)” and a JSON file will be created.
-
This JSON file can be imported again at any time via the main menu “Createt Map” → “Import Map” and choose “Edumaps (json)” in the dialogue.
-
Note that a new map will then be created with the same content.